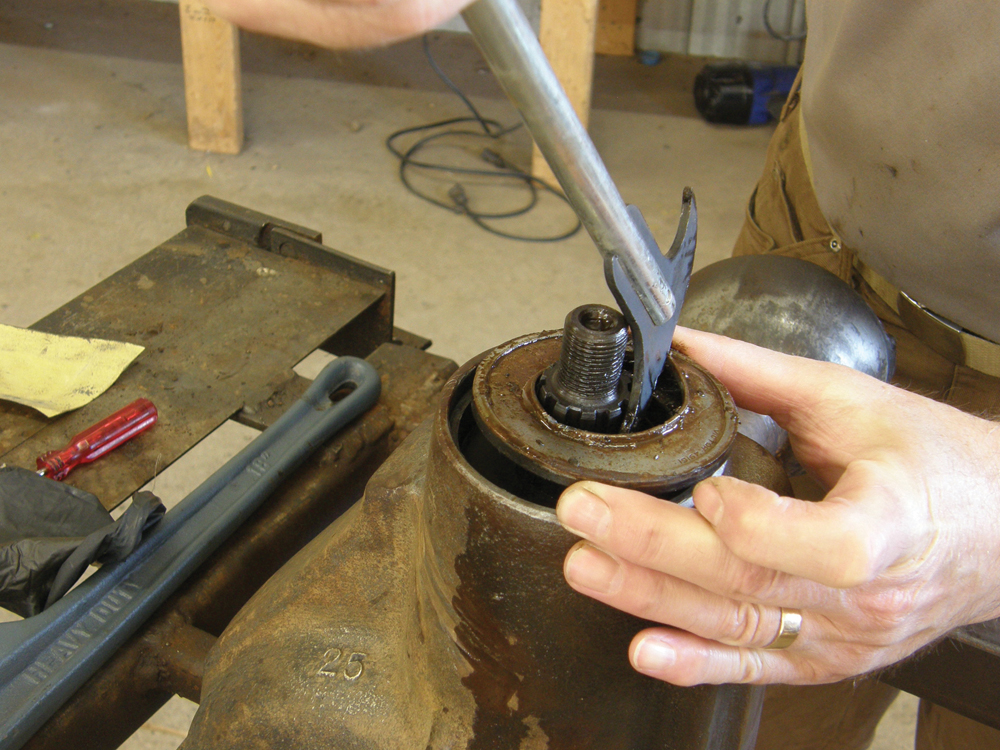
Replacing leaking seals on machines is one of the most common on-farm repairs. It isn’t particularly difficult, but not getting a replacement seal seated correctly means wasted time, effort and money. Here are a few tips to make sure the replacement goes in properly and, most importantly, stops the leak.
First, pay attention to where the old seal was seated prior to removing it. The component housing may be designed to allow the seal to bottom out. When the seat goes as deep as it can, you’ll hear the tone of the hammer blows change, and you will feel the resistance. However, not all housings are designed this way. With some, you may need to simply stop driving the seal in when it’s flush with the edge of the housing or in the same position as the old one was.
Before trying to install the seal, ensure the surface of the component is thoroughly cleaned, with all dirt and grease removed. Take a small flat-blade screwdriver and dig out any grime in the corner of the groove housing where the seal will sit. Allowing some debris to remain on the mating surface will prevent the seal from seating properly, and that will translate into a leak.
Read Also
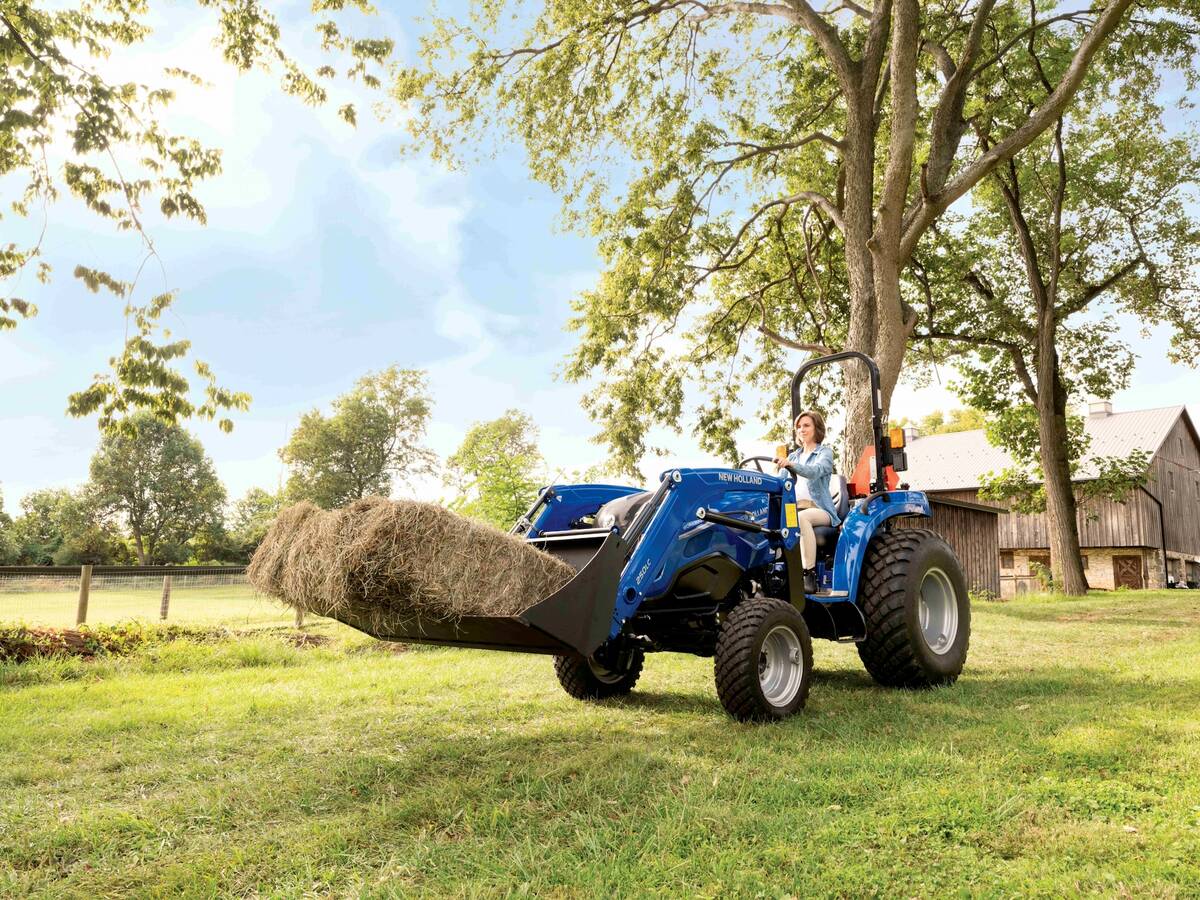
New Holland expands Workmaster compact tractor lineup
New Holland adds two new models to its Workmaster compact tractor lineup, the 35C and 40C. Also: Case IH debuts its new Farmall 35A and 40A tractors.
Next, check the shaft for pitting or other damage that could harm the rubber sleeve in the seal. If the shaft has a keyway, placing some tape over the keyway can help prevent its square edges from cutting the seal rubber. Placing a light coat of lubricant on the shaft will allow the rubber sealing surface of the seal to slide easily.
If the shaft is badly pitted or worn significantly where the seal will ride on it, replacing the seal without repairing or replacing the shaft will be a waste of time as it won’t stop the leak.
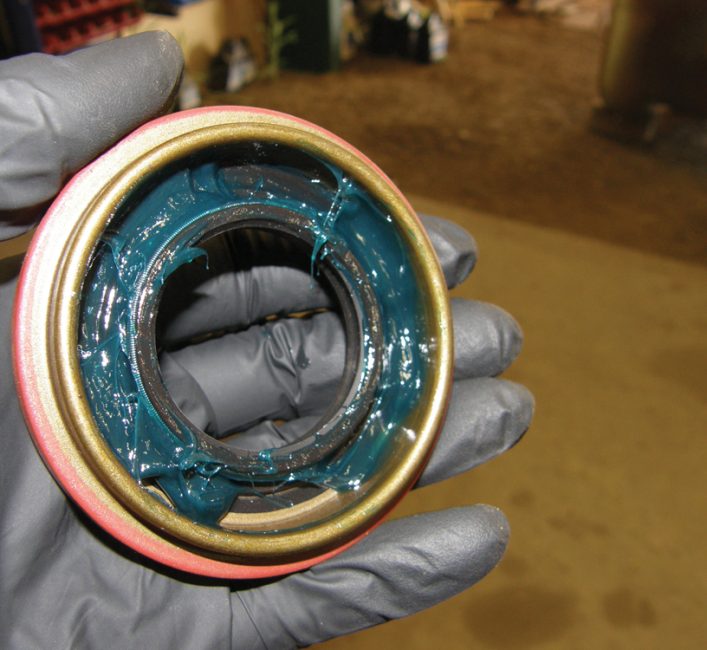
Behind the rubber sleeve in a seal is a small spring running around the entire opening. It keeps the rubber sleeve held tightly against the shaft. When pounding in the seal, a hard blow can cause that spring to pop out of place, which will make the seal pretty much useless. To help stabilize the spring in position, an old mechanic’s trick is to put some grease around it to help hold it firmly in place.
When you go to drive the seal into position, investing in a seal driver kit will help you install the seal evenly and free of damage. If you don’t have one, use a large socket or piece of pipe that is as close as possible to the same diameter as the outside edge of the seal. And don’t get carried away with the hammer, light taps are adequate. Striking the seal too hard could deform it.
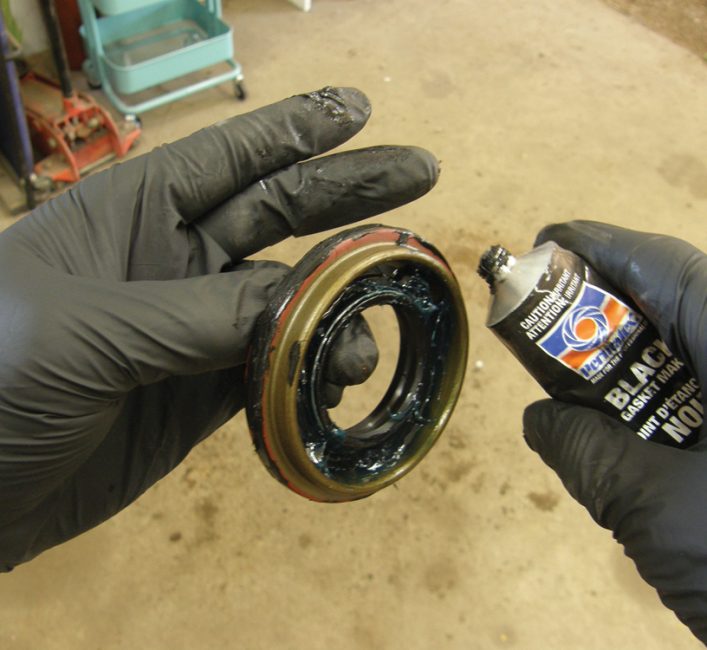
If the opening on the component housing looks a bit rough or uneven, coating the outer surface of the seal with RTV sealant can help prevent leaks there.