One of the most common faults on older stock trailers is with the electrical system. Aside from lights, the brakes also rely on electricity. Most provinces require all trailers with a gross weight of more than 950 kg (2,000 lb.) to be equipped with working brakes.
So the entire electrical system, including the brakes on heavier trailers, needs to work. Here’s a look at what you’ll find when you pull the wheel hubs off, and what you need to consider doing to keep trailer brakes in good condition.
First, you need to understand how they work. When electrical current runs to the brakes from the towing vehicle, that causes an electromagnet in each trailer hub to slide outward along a short shaft and attract itself to the inside of the rotating drum. As the drum turns, it pushes the magnet toward the rear of the trailer. The magnet is connected to a lever arm, which forces the brake shoes outward into contact with the drum, providing friction and, therefore, braking.
Read Also

Croptimistic’s SWAT Cam maps one million acres in Western Canada
Croptimistic’s SWAT Cam has mapped more than one million acres, using sprayer-mounted cameras to generate crop and weed maps that support in-season analysis and future management decisions.
Because the magnet also comes into contact with the drum, there is an additional wear surface on the drum, one on the face where the magnet rubs against it and the other where the shoes touch. And the magnet, too, is subject to wear, just like the drum.
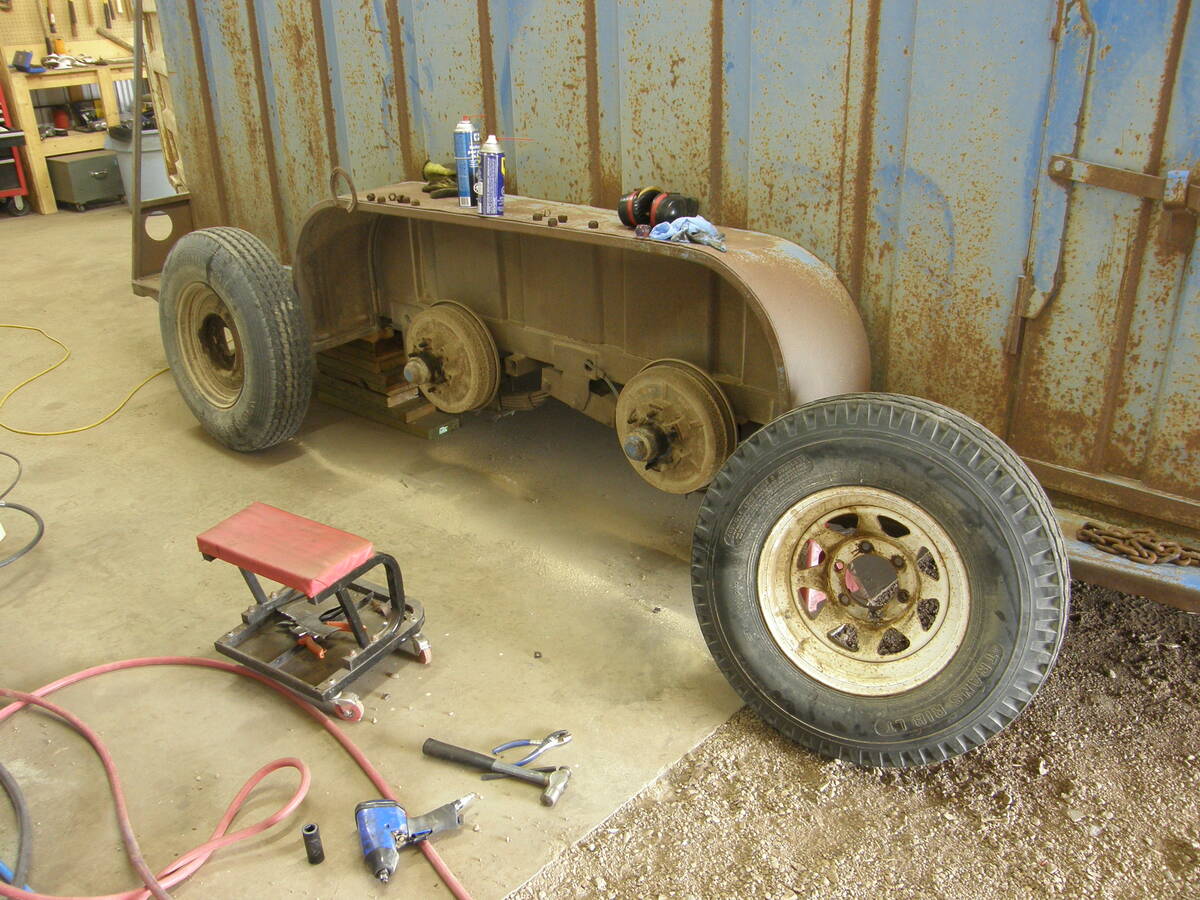
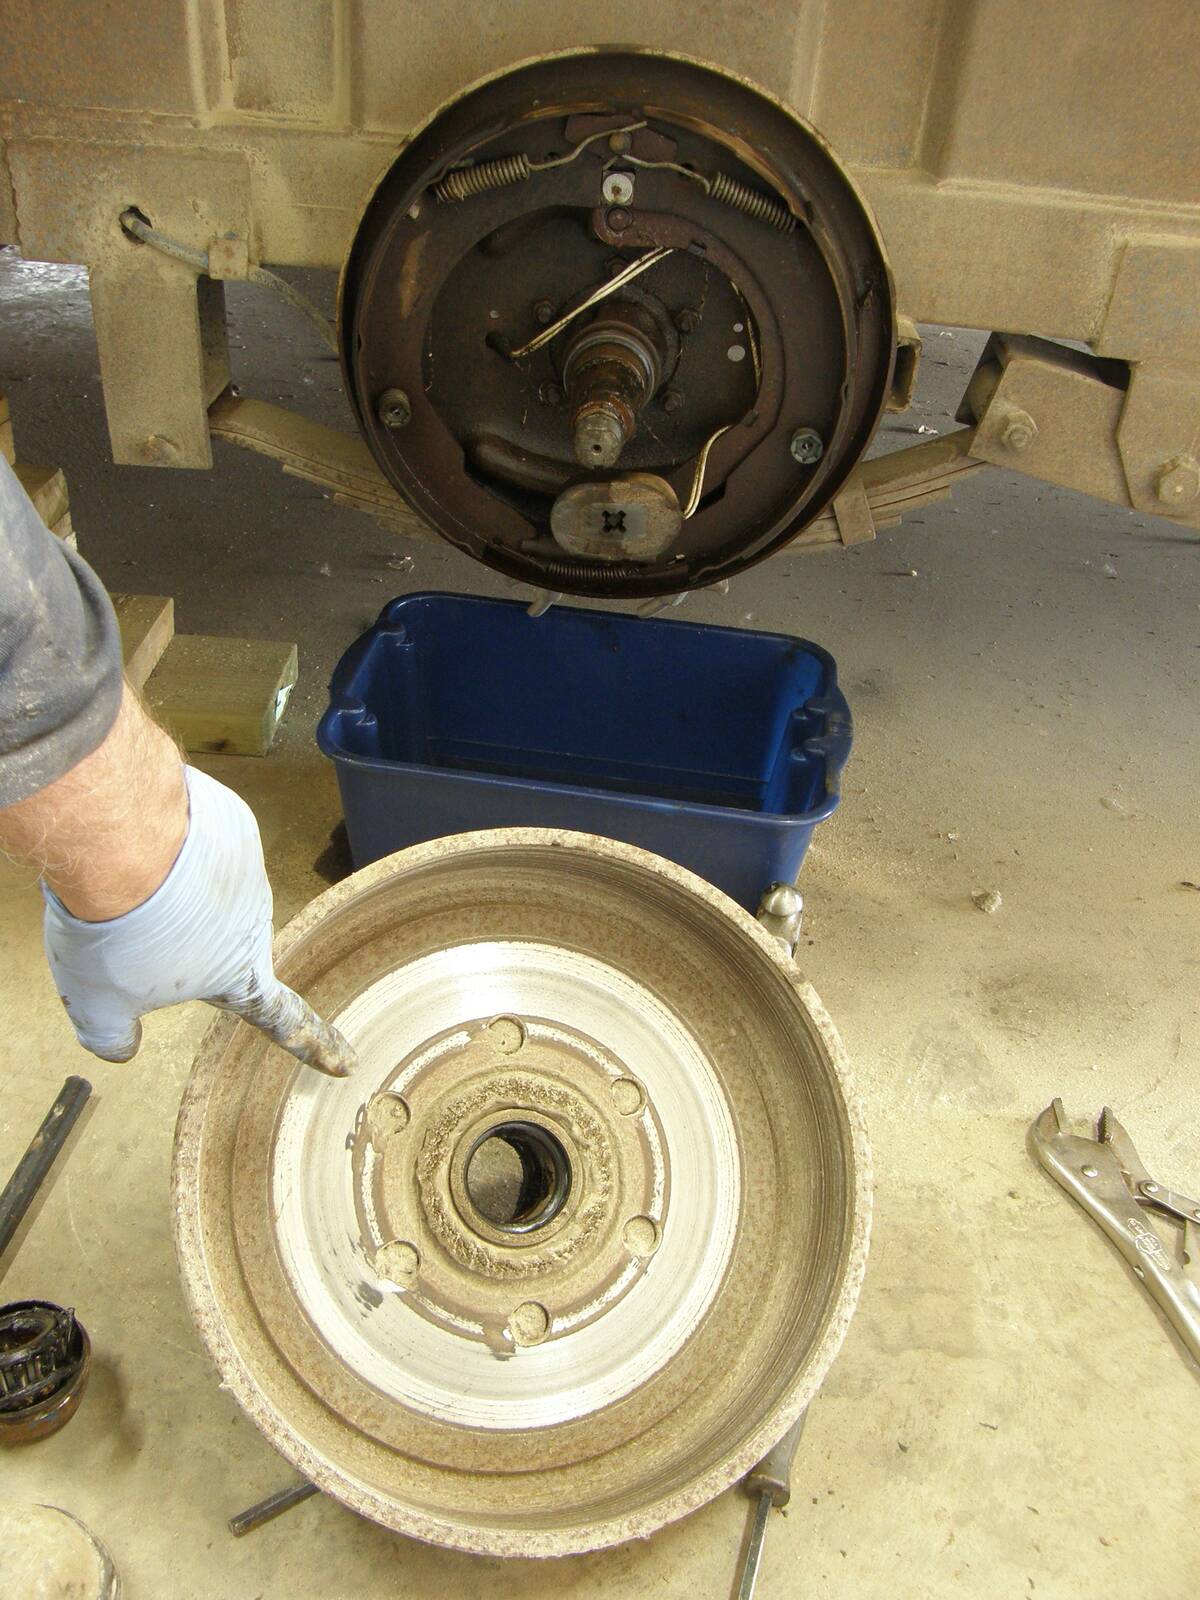
When removing the drum to inspect the brakes, be prepared to catch the outer wheel bearing, which will fall out from behind the nut as you slide the drum off. Keeping it out of any dirt on the shop floor will save you some work later on cleaning and repacking it when reinstalling.
Inspect the inside of the drum and ensure the wear surfaces where the magnet and shoes contact it are smooth and there isn’t excessive wear. If there are wear grooves, you’ll need to replace or resurface it. The shoes should be changed if you replace or resurface the drums.
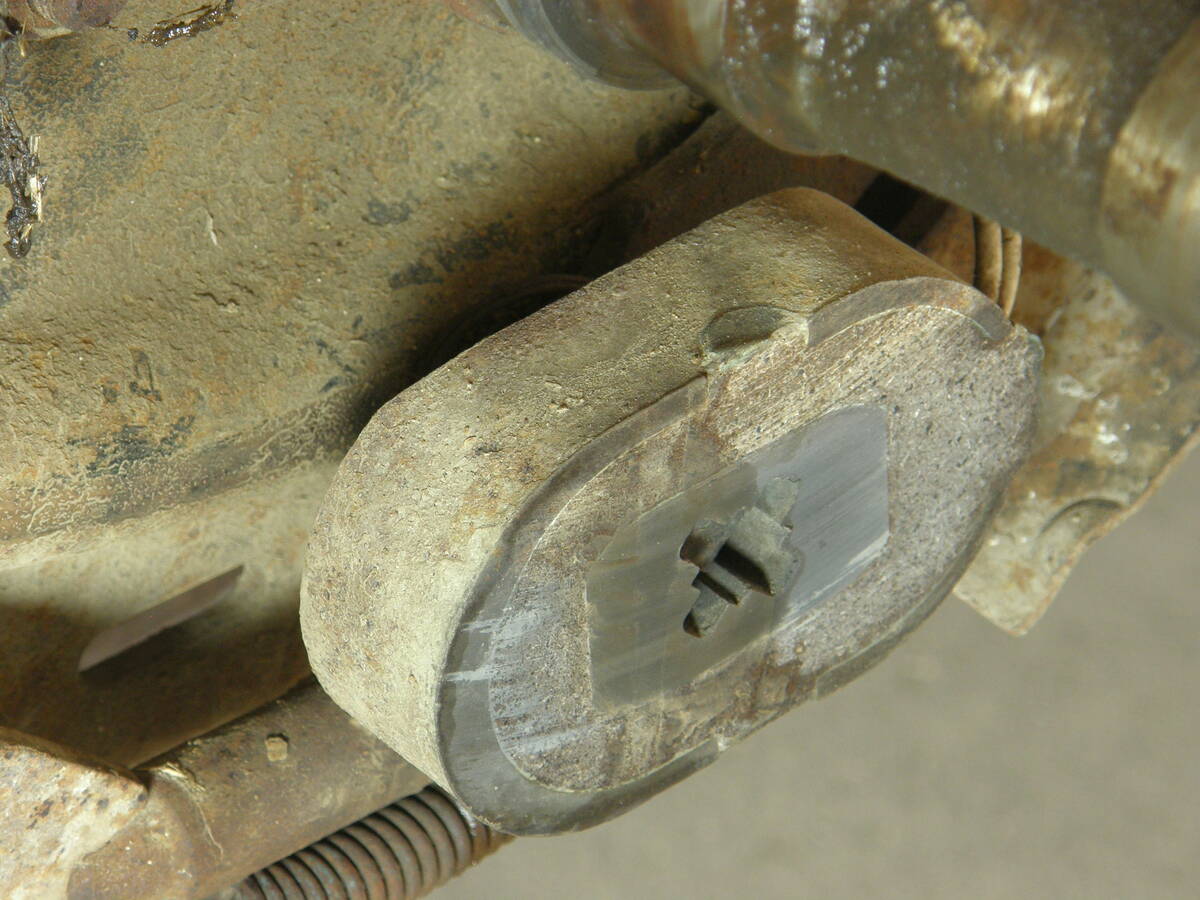
Check the shoes for material thickness. Check the magnet for wear as well. On the face of new magnets are four shallow holes that serve as wear indicators. If they are no longer visible, replace the magnet. Apply special braking system grease to the bar the magnet slides on and the lever pivot point. Don’t use regular grease.
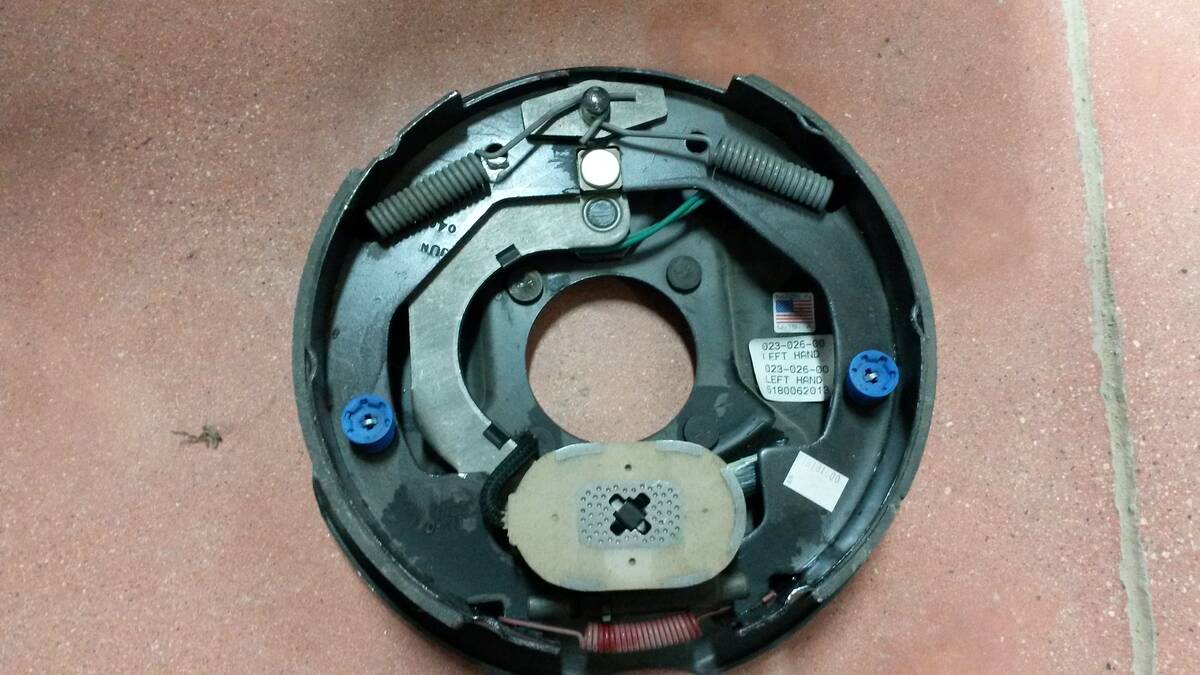
If there is a lot of wear on the brakes, simply replacing the entire backing plate assembly and fitting a new drum may be the cheapest and easiest option.
Inspect the two wheel bearings, the inner and outer, and repack them with fresh grease. (You can use ordinary grease here.)
Don’t overtighten the axle nut when reinstalling the drum. Start by spinning the drum by hand as you tighten the nut to where it just stops the drum from turning, then back the nut off until the drum turns freely. That seats the bearings. The sweet spot for securing the axle nut is where the drum turns freely but has no free play, meaning you can’t wiggle it on the axle.
Remember to adjust the shoes after installing the drum. That is done by sticking a screwdriver (or special brake tool) through a slot in the rear of the backing plate and turning the adjuster mechanism. Turn the adjuster until the shoes touch the drum, then back them off about five or six notches.
Also, remember: the rule of thumb on brake repairs is, whatever you do to one hub, you should do to its partner on the other side of the axle to ensure even braking on both sides.