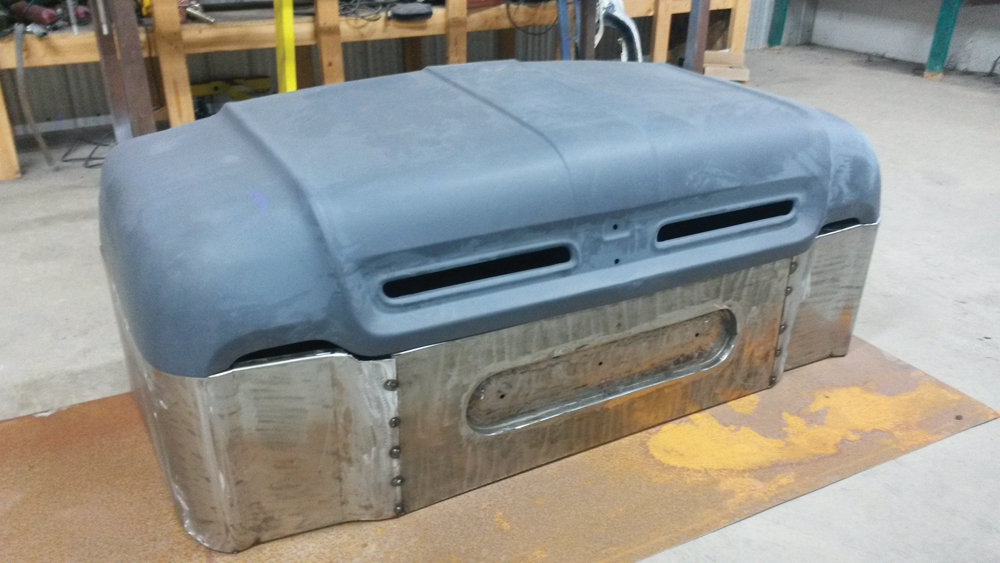

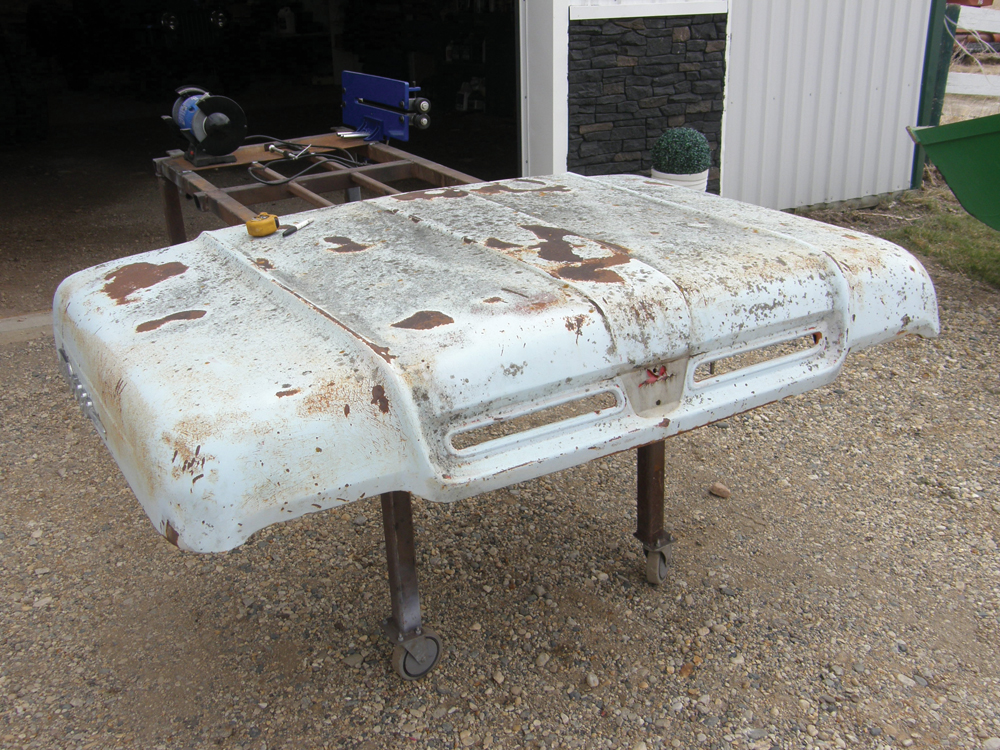
In the last article we took the hood from a 1960 Ford truck and used it as the basis for a completely customized workshop toolbox. Now with all the fabrication work done on the hood, which will be the box lid, we know the required build dimensions the lower box section that will fit to it.
We wanted to follow the side contours of the hood as closely as possible when creating the box portion. But with that many bends to make, it amounted to a pretty complex shape. The simplest way to build it was to use several smaller sections and weld them together. In all, the box portion was made out of 12 separate pieces. (Yes. It was that complex.)
Read Also

John Deere introduces updated tech for its combine line
The 2027 model year will see the debut of several new features for John Deere’s line of combines, particularly the X9.
- Read more: How to build a custom tool box, Part 1
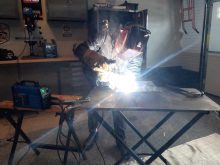
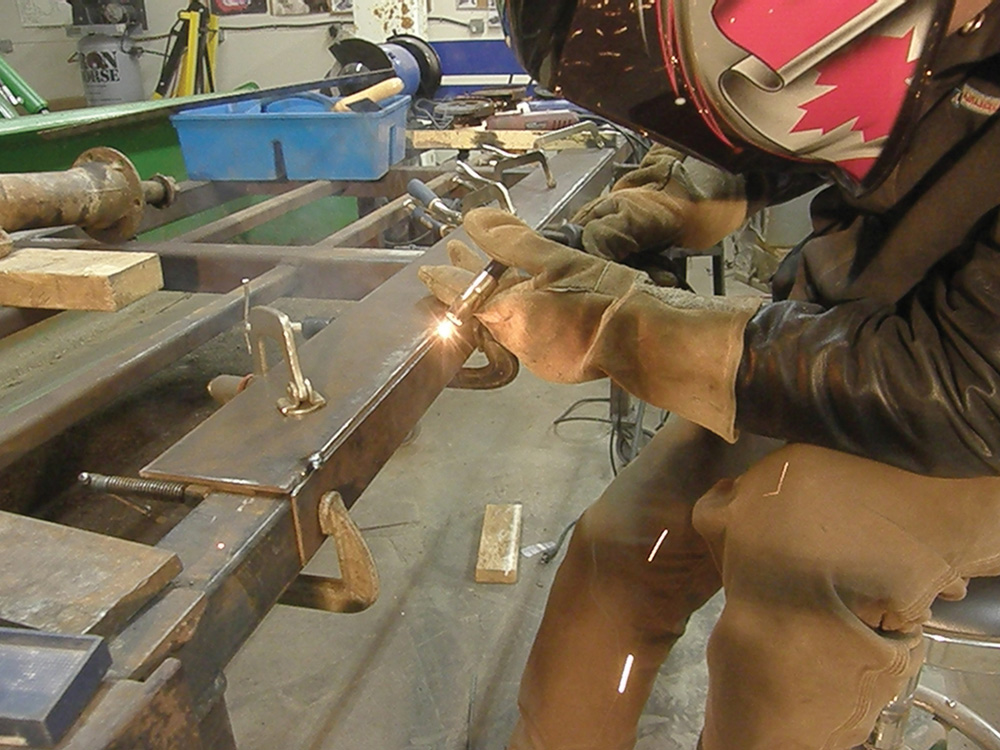
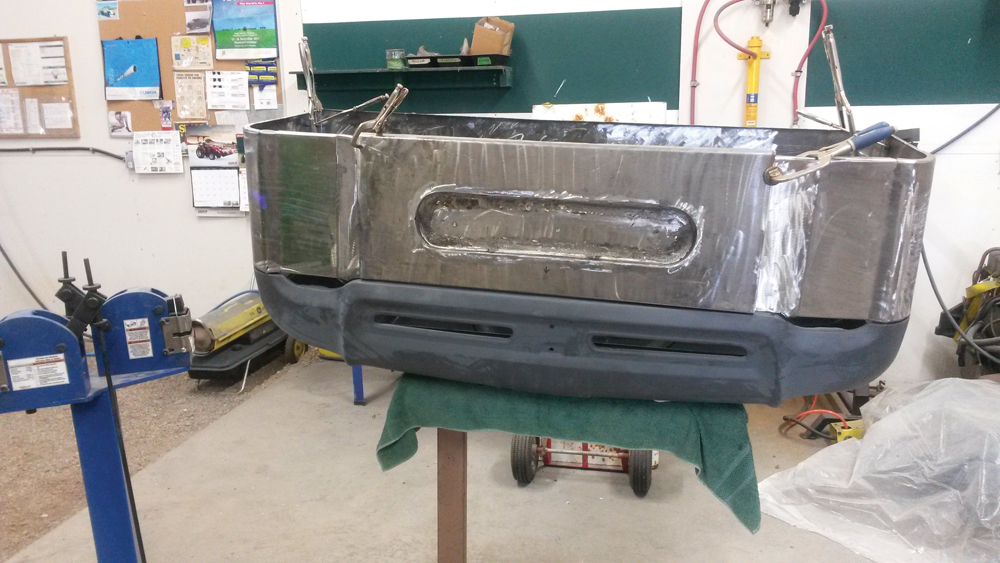
The first step was to create the sides that wrapped around to the front. These pieces, like all the others, were cut out of flat 18-gauge steel. Enough extra material was left on them to create a one-inch flange on the top and bottom. Most of the pieces were too long for our metal brake to bend those flanges, so we just clamped them to the edge of a welding table and formed the bends with a hammer and block. It’s not the best way to do this job, but it works. So in true Grainews style, we did the best we could with what we had.
Once the top and bottom flanges were formed, a metal shrinker-stretcher tool was used to form the correct shape into them. (See the associated article for more on that.) The flat front centre section was made the same way. It didn’t need bending, but we decided to create an oval inset to place the hood trim piece from the truck into. The shrinker-stretcher was again used to create the rounded ends after bending 90 angles into the pieces. But it took seven small pieces to create that feature.
Once the side pieces were formed, the hood was placed upside-down and the sides were clamped into place on top of it in order to begin welding them together. That ensured the box exactly matched the hood shape. After the sides were welded together, the whole assembly was placed on another sheet of 18-gauge steel so the bottom shape could be traced out and cut to correctly match what was already built. The two vent openings in the hood were closed off by welding more 18-gauge into them.
After sanding all the surfaces down to bare metal, including getting the surface rust off the new steel, the entire box was given a coat of primer. Some body filler was needed to fill in small imperfections and create a smooth surface for painting.
A door handle from the truck along with the original hood latch were altered to work together as a lid locking mechanism. A piano-style hinge that runs almost the entire width of the box was riveted to back, allowing the lid to open.
Applying a two-tone paint job and putting some adhesive-backed weather stripping between the lid and box were the final touches.
The result, we think, is a pretty cool, one-off piece (see photo at top). Of course it would have been possible to buy a toolbox for only slightly more than the cost of our materials. But it wouldn’t be any different than what everyone else has.