

brakes main.JPG
In this instalment of Shop Class, we tackle a wheel hub inspection and electric brake service on an old livestock trailer.
Photo: Scott Garvey
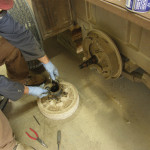
drum removal.JPG
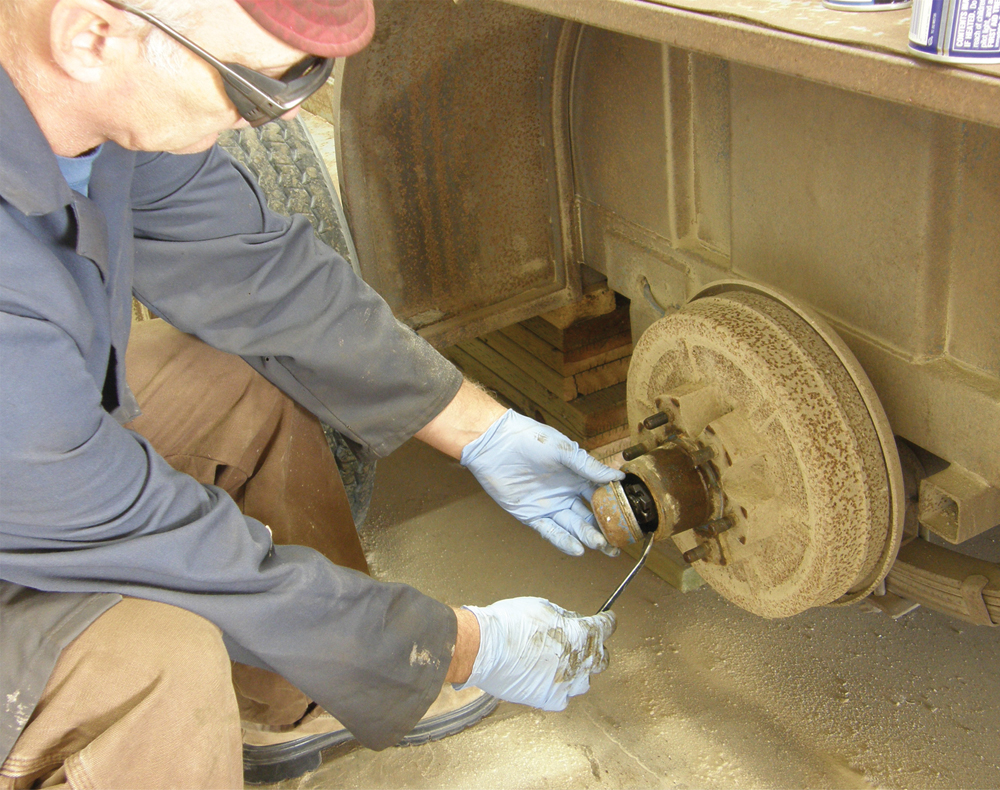
To get the drums off, pry off the dust cap and remove the axle nut.
Photo: Scott Garvey
outer bearing.JPG
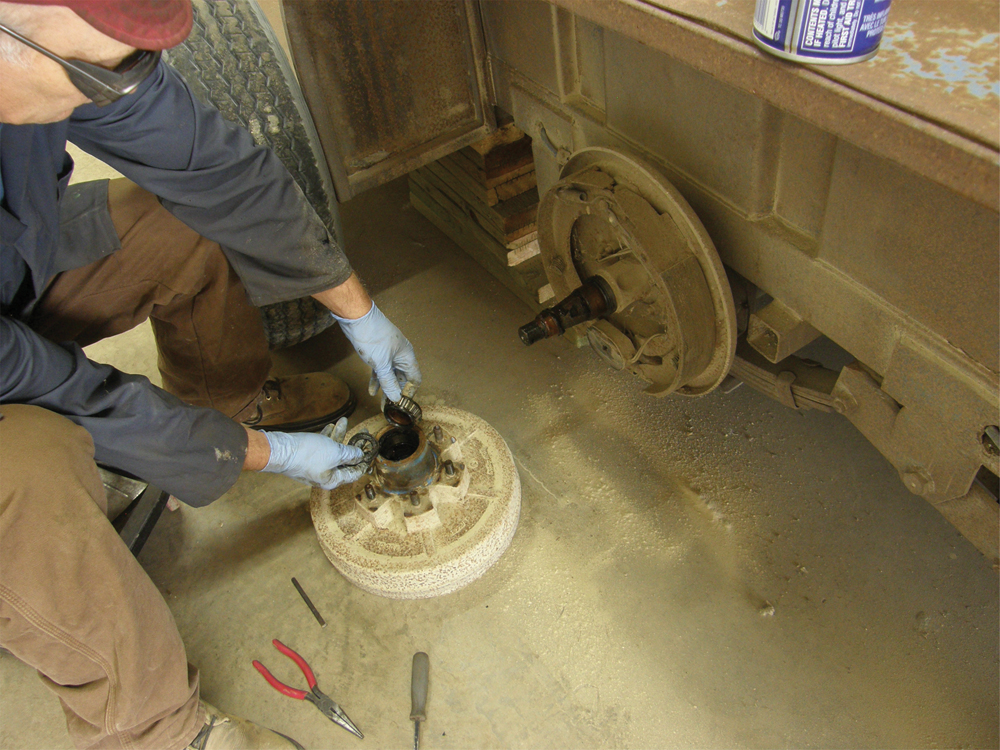
Be ready to catch the outer wheel bearing when removing the drum. It will fall out.
Photo: Scott Garvey
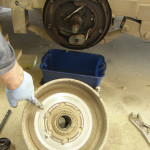
wear surface.JPG
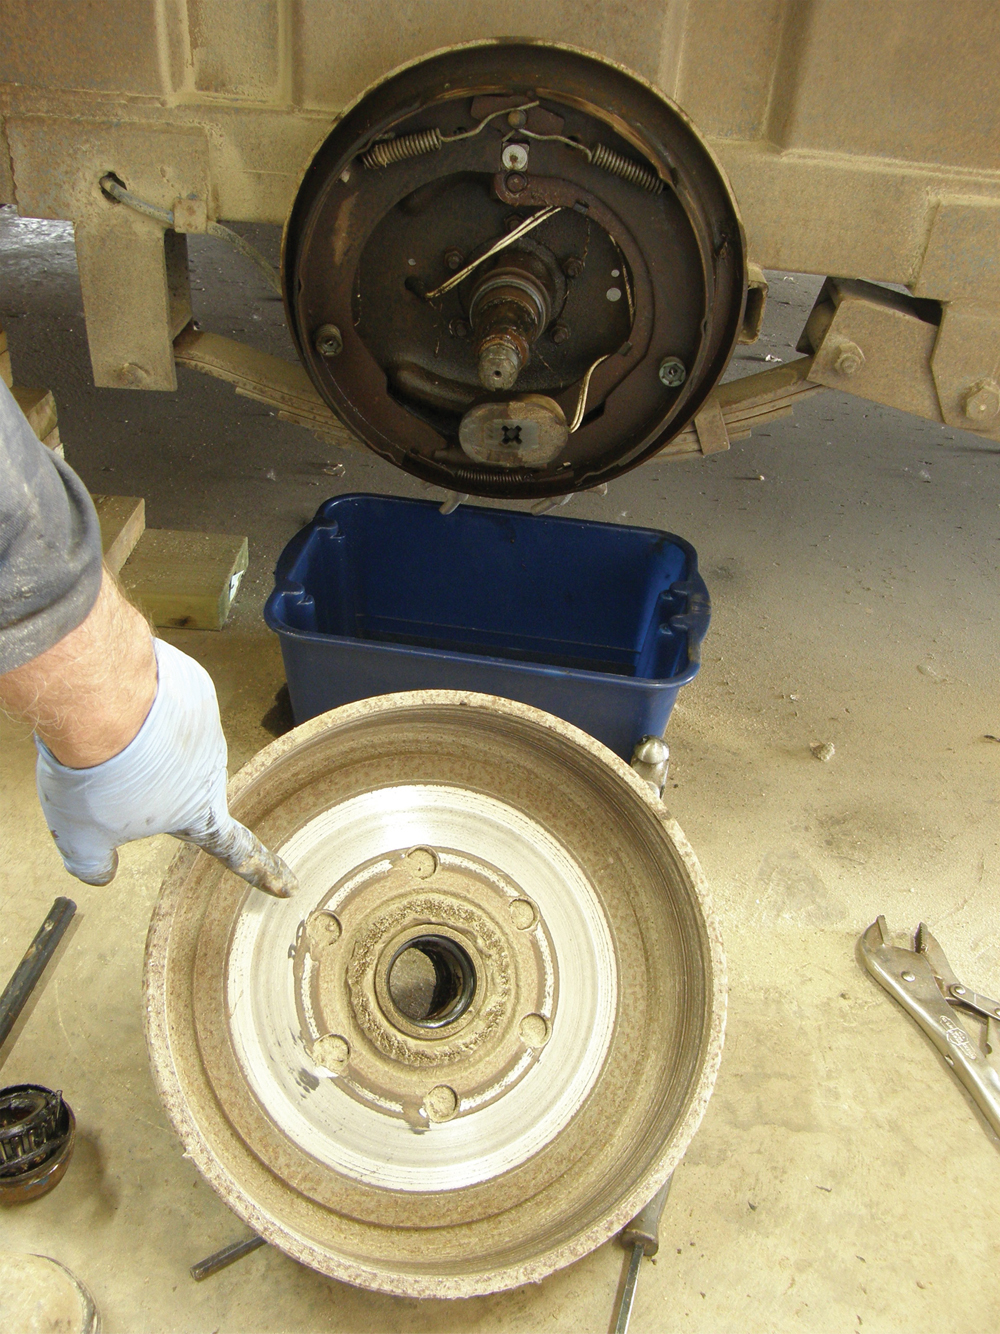
Electric trailer brakes have a second wear surface on the drum where the magnet comes into contact with it.
Photo: Scott Garvey

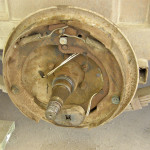
old hub.JPG
The wear indicators are no longer visible on this magnet, meaning it is ready for replacement. Remember, brake shoes on old equipment may be made of asbestos. Don’t use compressed air to blow out debris. Use only liquid brake cleaner and wear a dust mask for safety.
Photo: Scott Garvey

new magnet.jpg
The four wear indicator holes are visible on the magnet in this new backing plate assembly. Because of the way electric brakes work, there is a left and right side assembly. Don’t mix them up.
Photo: Scott Garvey


After all your work is done, remember to adjust the shoes after installing the drum. That is done by sticking a screwdriver (or special brake tool) through a slot in the rear of the backing plate and turning the adjuster mechanism. Turn the adjuster until the shoes touch the drum, then back them off about five or six notches. And the rule of thumb on brake repairs is whatever you do to one hub, you should do to its partner on the other side of the axle to ensure even braking on both sides.