
A few years ago, I had a friend who was a service manager at an ag equipment dealership. He mentioned how often his mechanics would have to spend time cleaning out solidified fertilizer in the tank of an air drill taken as a trade-in. That not only added to the cost of getting the drill ready for resale, sometimes it also caused significant damage from rust and meter problems.
Those things were the result of growers parking a drill at the end of the year and calling the season done. However, like any other machine on the farm, air drills need maintenance to remain in top working condition.
Read Also
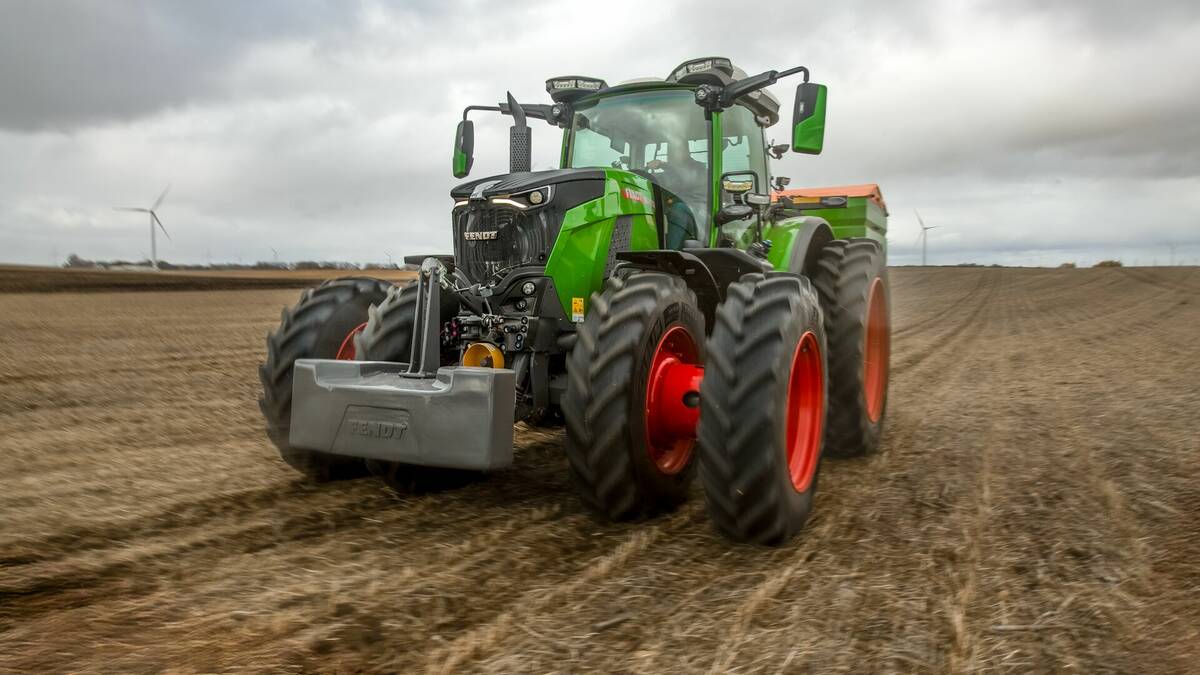
Fendt reintroduces 800 Vario Series line of tractors
Agco’s Fendt arm has reintroduced a new and improved Gen5 800 Vario Series of tractors to the North American market.
To find out what maintenance practices the experts recommend, Grainews spoke to Ryan Hogness, a product specialist for Concord air seeders. He breaks the steps down into post- and pre-season procedures.
Post-season maintenance
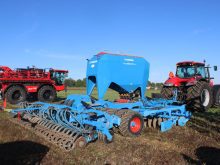
After the last acres are seeded and the drill is parked in the yard, it’s time to get it ready for a long period of inactivity.
“I would recommend before putting your drill away to inspect and replace shank points or opener discs as needed,” Hogness says. “I’d replace discs if they’re under 17 inches in diameter or near that because I don’t think they’ll last another season. Also, replace any other ground-engaging components you feel are starting to get worn and won’t last another season.”

One of the reasons he recommends this as a post-season job is the current difficulty in sourcing spare parts due to COVID-19-related shipping and manufacturing delays.
“Get that order in early,” he adds, “so you can be sure you’ll get your parts by spring, when you’re ready to go back out.”
It’s also a good time to look for other worn components, such as bearings.
“You always want to inspect and grease bearings,” Hogness continues. “Check the wheel bearings or walking tandem bearings.”
A full bearing service involves disassembling the hub, removing the bearings and repacking them with fresh grease. This allows for the best evaluation of wear.
“But if you just want to do a quick test while it’s still assembled, take the tire and move it back and forth. If there’s a wiggle at all, it’s a good sign they (the bearings) are getting near the end of their life. Any kind of movement in the hub or walking tandem in the opposite direction it’s intended to travel is what I would check for.”
Fully cleaning the tank, meter and distribution manifold is critical.
“Clean the inside of the manifold head out, so you don’t have to worry about mice,” says Hogness. “Make sure you take the lids off and blow it out. Make sure there’s nothing stuck in them. You could plug the inlets and outlets to prevent any kind of rodents from entering. Most people use duct tape.”
Inspect seed hoses for kinks, breaks and wear. Due to the high air velocity in those tubes, with fertilizer being so abrasive, any valleys it travels through will tend to wear the bottom of the seed tube out.
“If you have plastic meters, I’d recommend putting them inside,” he says.

And, finally, give the seeder a good overall cleaning. Drag out the pressure washer.
“Make sure you at least blow it off,” Hogness says. “You’re going to have areas you want to make sure dirt is out of to make sure you don’t have any corrosion.”
Pre-season maintenance
When it’s time to pull the seeder out and get it ready to go again in the spring, inspect all hydraulic components, hoses, cylinders and motors for leaks. Cold winter weather can cause steel to shrink and form cracks.
“If you’re going to store it outside, it’s always best to have your wings down so there’s no pressure on the cylinders,” says Hogness. “It’s a big project, but you could remove all the rod-end pins and suck the cylinders back up, so they (the cylinder rods) are not exposed to any moisture to avoid pitting or rusting. But that’s kind of a project and depends on how particular you are. Check all the linkage for wear or seizure. Make sure it’s free and moving.”
Don’t ignore the tires. Something as simple as a flat tire can cause a lot of in-season downtime, when time is precious. Check all air pressures. Look for bulges in sidewalls or tread failures.
Give the drill an overall inspection. Inspect all weld joints. See if there are any hairline cracks, which will be more easily identifiable in the spring because they’ll probably have a little rust in them. And confirm the drill is still sitting level to ensure accurate seed placement.
“Do a run-through of the monitor functions to make sure all sensors are working correctly,” Hogness adds. “Inspect the wiring harness for any broken pins, loose wires or wires chewed through by mice, any areas that have been rubbed through.”

In general, Hogness says, keeping the seeder in good condition is important to protecting your investment. Hit areas where paint has chipped away with spray bomb to prevent rusting. A good-looking, well-maintained drill will net more trade-in value than one that has been left in the weeds on the edge of a field, he explains.
“Machines are getting more expensive all the time,” he says. “The better you take care of it the better your resale value is. They (farmers) have all that money invested in it, you want to make sure it’s kept up, just like taking your car to the car wash.”