Soil sampling advice isn’t hard to find this time of year — but not all advice delivers results in the field. Here’s what actually works, and why some common practices may be missing the mark, based on decades of experience.
It’s important to note that soil sampling and testing are excellent tools to assess nutrient levels in your fields. That information sets the stage for smarter fertilizer planning in the spring. It’s also relevant that fewer than 20 per cent of fields in Western Canada are sampled each year. To me, that’s a huge missed opportunity to understand your soil and build a solid fertilizer plan.
When to soil sample
Read Also
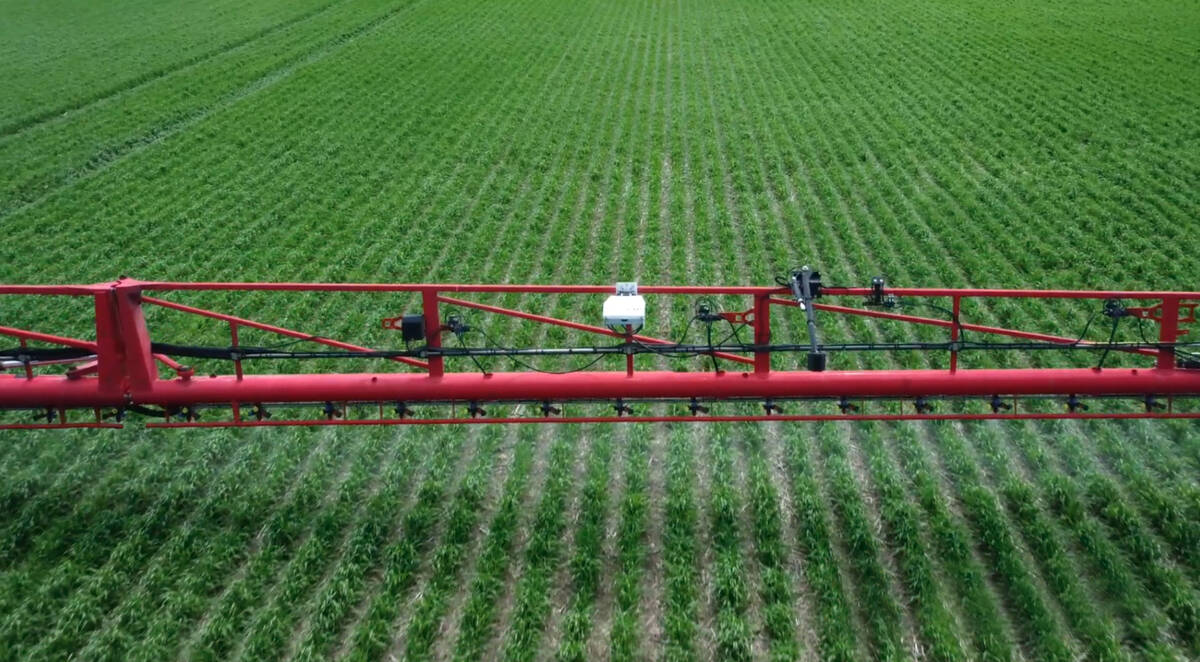
Croptimistic’s SWAT Cam maps one million acres in Western Canada
Croptimistic’s SWAT Cam has mapped more than one million acres, using sprayer-mounted cameras to generate crop and weed maps that support in-season analysis and future management decisions.
Ideally, sampling in early spring gives the most accurate measurement of soil nutrient status for spring-seeded crops. However, springtime is often too short and rushed to allow proper analysis and developing your fertilizer plans. So, if soils are moist, late fall (after soil temperature has dropped to 5-7 C) is often the most practical time. If soils are very dry, sampling in early fall is fine.
Nitrogen, phosphorus and sulphur levels can fluctuate from fall to spring, especially in moist soils with warmer-than-normal winters. Variations in nutrient levels from fall to spring are more likely in the Chinook regions of the southern Prairies. I don’t recommend sampling frozen soils during the winter simply because of the difficulty in obtaining representative sampling depths.
Further, I encourage farmers to go out with the person doing the soil sampling on their farm. It allows you to develop a good sense of how soils vary across fields and to see where samples are taken to ensure representative sampling. When you are with the sampler, you know where and how the samples were taken.
What are the options for sampling?
Many fields across the Prairies have moderately rolling topography, resulting in soil variability across the landscape. This can pose a challenge in deciding how to take representative soil samples. Samples must be representative of the field or each soil/crop management zone of a field. Work with your fertilizer dealer or agronomist to help you decide how to sample each field.
Briefly, here are a few ways fields can be soil sampled:
Random sampling of a whole field: Works best in fields with relatively uniform soil and topography. It involves taking representative soil samples throughout the entire field, but make sure to avoid unusual areas.
Sampling soil/crop management zones: Works best in fields with variable soil and topography. Uniquely different zones are mapped based on soil characteristics, topography, and/or crop yield potential. Representative soil samples are taken within each management zone. This method works well in fields with variable soil. Each management zone can be randomly sampled or benchmark sampled (see point 3). Work with an experienced agronomist to map each soil/crop management zone carefully.
Benchmark soil sampling: Involves sampling a one-to-two-acre area that is representative of most of the field or soil/crop management zone. Each year, the same area is soil sampled. When a field is variable in soil or topography, three or more benchmark locations may be needed to account for that variability.
When selecting soil/crop management zones with your agronomist, make use of crop yield maps, aerial photos, topographic maps, soil salinity maps and/or satellite imagery information. Also, use your personal field knowledge and observations of crop growth differences (crop establishment, vigour, colour, and growth) and landscape/topography of each field to identify where different soil types occur.
Number of sampling sites
I suggest taking samples from a minimum of 20 sites for each field, soil/crop management zone or benchmark area. Les Henry used to suggest 30 sites, which is even better. The more sampling sites taken, the more representative your samples will be of the field.
A common mistake is only taking six or seven soil cores from a field or management zone, which is not enough and may result in unreliable information for your fields and the development of inaccurate fertilizer recommendations. Why? Typically, each soil sample sent to a soil testing lab weighs about two lbs. One acre of land, six inches deep, weighs about 2,000,000 lbs. If a 160-acre field is soil sampled to a six-inch depth, a two-lb. soil sample must represent about 320 million pounds of soil. The soil sample would represent less than one-millionth of the field. So, it is critically important that an adequate number of soil cores be taken!
Choosing depth increments
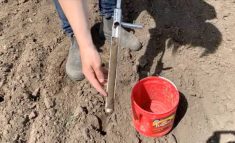
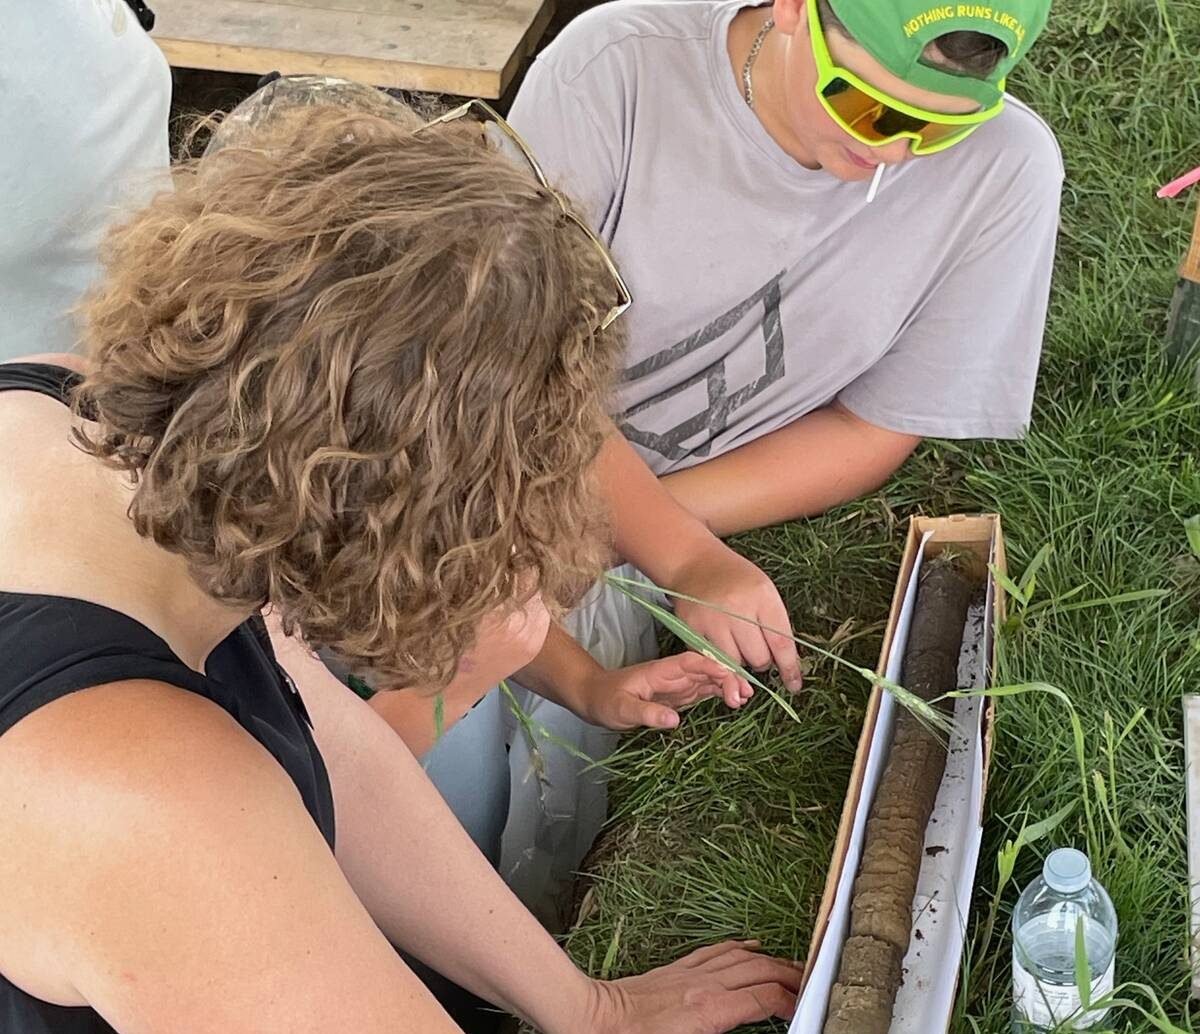
There are various recommendations for sampling depth. My preference is to separate each soil core into depth intervals of zero-to-six, six-to-12 and 12-to-24 inches (0-15, 15-30 and 30-60 cm) and place the three sampling depths into three clean plastic pails. Do not use metal pails! Do this at each site sampled. Many agronomists suggest zero-to-six- and six-to-24-inch (0-15 and 15-60 cm) depths, which is easier and faster but does not give as useful information on nutrient stratification.
Most research on nitrate and sulphur in Western Canada’s annual crops has been based on sampling to 24 inches. Sampling in three depth increments gives a clearer picture of how these nutrients are distributed through the soil profile.
Phosphorus and potassium are less mobile, so keep the zero- to six-inch depth sample separate.
After the 20-plus soil cores are taken, thoroughly mix each composite sample and lay out the soil samples to completely air dry to stop nutrient changes. If moist soil samples are sent directly to the lab in sealed bags, soil microbes can alter the levels of plant-available nitrogen, phosphorus and sulphur, causing incorrect estimates of soil nutrient levels. If samples are sent directly to the lab in a moist condition, they must be shipped in coolers and kept below 5 C and arrive at the lab the next day for drying.
Sample analysis
The key macronutrients to test for are nitrogen (N), phosphorus (P), potassium (K), and sulphur (S). Measure N, P, K, and S in the zero-to-six- and six-to-12-inch depths, and N and S in the 12-to-24-inch depth. For most soils in Western Canada, testing for calcium (Ca) or magnesium (Mg) isn’t usually necessary, since these nutrients are rarely deficient.
It is a wise idea every few years to check levels of soil micronutrients copper, iron, manganese and zinc. Testing for micronutrients every year is only necessary if one or more micronutrients are in the marginal or low range; otherwise, testing every few years is fine.
It is important to note the tests for boron and chloride are not reliable, so I do not recommend testing for them. The problem is with the soil test methodology and critical levels used, which often result in unnecessary fertilizer recommendations.
Checking organic matter, pH and soil salinity is worthwhile for keeping an eye on your soil. Other tests, like cation exchange capacity, base saturation, or base cation saturation ratios, generally aren’t useful for planning fertilizer. CEC doesn’t change much because it depends on clay content, and base saturation mainly flags soil problems such as sodic soils. Research shows that BCSR adds little value in Western Canada, so you can skip the cost.
Finally, make sure the soil testing lab that does your soil analysis uses the correct soil test methods. For Alberta farmers, all soil test P calibration has been with the Modified Kelowna method since 1990 by Alberta Agriculture. It is also the recommended P method by Saskatchewan Agriculture. Soil samples from Alberta and Saskatchewan should be sent to a lab that uses the modified Kelowna method for the best 4R interpretation and fertilizer recommendations.
For Manitoba farmers, all soil test P calibration has been with the Olsen method (also referred to as the bicarb method), so use a lab that uses the Olsen method. Other soil test P methods, such as the Bray method, have never been calibrated to Western Canada’s soils. I do not recommend methods that have not been calibrated for western Canadian soils.
Next, interpret your soil tests. Make sure you seek the advice of several agronomists when developing your fertilizer plans for next spring.