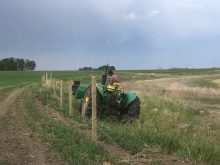
We have built a lot of fence on the ranch over the years for cattle, horses, and yes, even a few to keep the deer out of the yard or garden. Lodgepole rails are readily available in this part of the country, and at most fence supply outlets, and many of us utilize them alone or in combination with different types of wire to build fence when confining horses, cattle, or to dress up a yard or garden and keep the wildlife and farm animals out.
I learned from my father, and he from his, that when working with round rails it helps to hue a flat spot at one or more points of contact between the rail and the post. For many years we chopped out these hues with an axe.
Read Also
Get ready for an eventual transition on cattle traceability
When new federal cattle traceability rules do ultimately take effect, reporting requirements will vary for producers, transporters, feedlots and markets — but most of the onus will be on producers.
In recent years I have noticed the number of fences built with these same materials and marvelled over the clean-flat hues people were making to build not only a better fence, but a much more attractive one. These clean hues could only be made with a chainsaw or other mechanical tool. We began experimenting with this a few years back and discovered how difficult it is to make these cuts with the same angle at each point — parallel in a plane — and keep the saw out of the dirt and rock on the ground. I began talking to professional fence contractors and discovered that they used an assortment of tools to do this — none of which I could justify buying for the limited amount of this type of work that we do.
Initially I tried cutting out these notches or hues by placing the rail on a rail trim or 4″x4″ block. This prevented me from dipping the tip of the saw into the dirt, but I could not keep my notches uniform and cut in the same plane each time. I resorted to having a helper hold the rail while I cut the notches. This helped but required another set of hands and wasn’t necessarily safe for the helper.
Simple tools that work
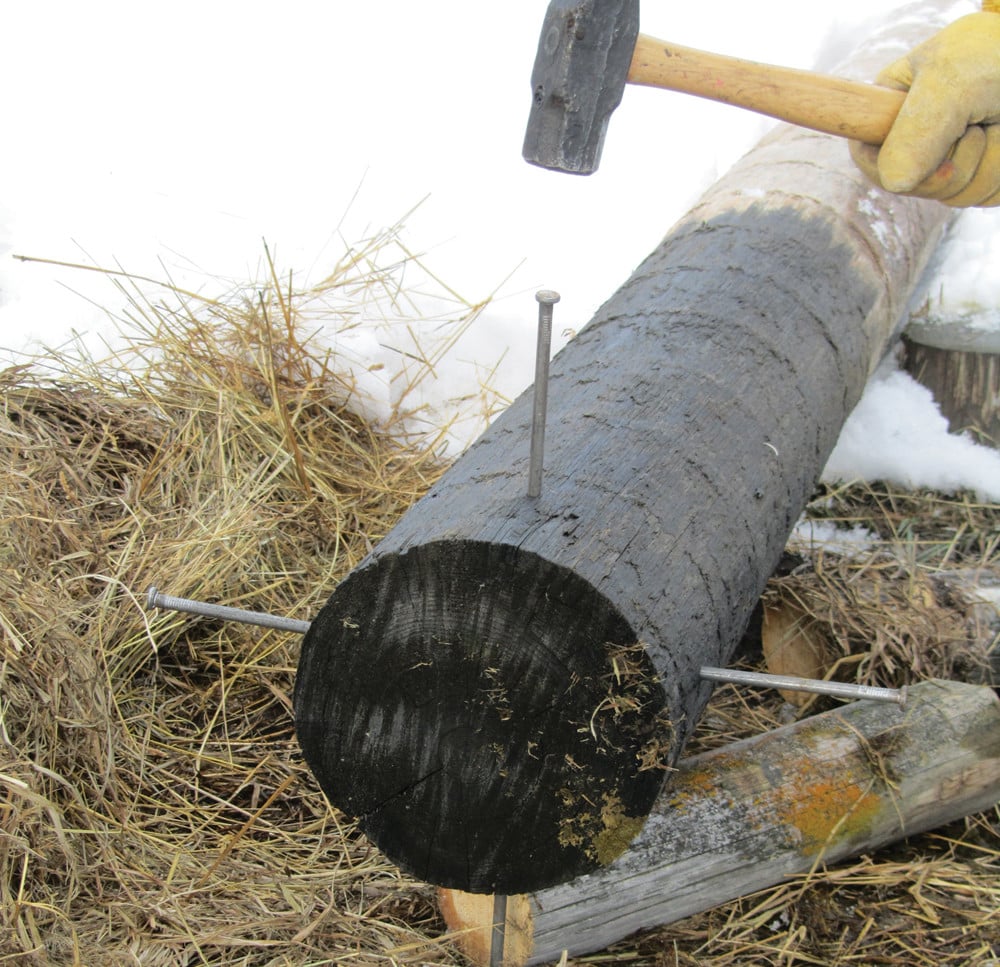
After a bit of trial and error I created a very inexpensive solution. With bits of scrap 4″x4″ post I created three simple braces to hold the rail off of the ground and stationary. This allowed me to cut the hues or notches uniform and protected my saw.
To create these braces I used a piece of 4″x4″ 18 to 24 inches long as a base and attached two eight-inch pieces about six inches apart to the base 4″x4″. This created a stable brace that would accept up to a six-inch diameter rail. Most of the rails I use vary between three to five inches therefore the notches are larger than necessary. To overcome this variation I cut wedge-shaped pieces of various thicknesses ranging from 3/8″ to 2″ out of the end of a rail when I start. Once I have placed the rail in the braces I insert a wedge of the necessary size between the rail and the side of the brace and tap it in tight with a hammer. I recommend three braces for a rail between 16′ and 21′ long. Offset the centre brace in order to cut the centre notch without interference from the brace.

I discovered that a narrow kerf saw chain (narrow chain thickness) is much more effective and safer than a larger kerf. Also, a smaller saw is much easier to handle in this application. Several of the cuts you will need to make are plunge cuts where you are inserting the saw tip-first into the rail. These cuts are very prone to kick back with a more aggressive larger saw. It is also very important to keep the chain sharp. A dull chain is more prone to kick back and will heat the bar when performing plunge cuts.
The final item required to create a uniform notch or hue is a simple adjustable try square. To give the top rail a smooth uniform line it is important to determine the minimum thickness that you want remaining in the rail after the notch is cut out. To determine this, measure the small end of the rails you are using — if they are tapered. Next set the tri-square to a distance slightly less than the minimum distance of the small end of the rail.
Measure the distance across the tops of the posts you intend to span and transfer these distances to the rail you have placed in the braces. Using the try square — placing it across the rail level with the ground — mark the depth of the cut for all of the notches to be cut. The only trick remaining to create uniform notches is to make sure you hold the saw perpendicular to the ground as you make the cuts.
You now have the simple and inexpensive tools to create a very functional and cosmetically appealing rail fence.