No stage of a restoration project seems to provide more satisfaction than seeing it painted for the first time — other, maybe, than driving the finished machine out the workshop door. And our project Jeep’s body has at last hit the paint stage.
All those hours of sheet metal work, filling and sanding should now pay off by providing a smooth, blemish-free surface to lay colour over for the ideal finished appearance. Well, that’s the theory, anyway. When we started this project, we had visions of creating a like-new appearance for CJ3A. But as we got into the job up to our elbows, we realized that while that was certainly still doable, it just wasn’t practical for this machine.
To give it a like-new appearance we really would have needed to replace the entire body (at a cost of nearly US$4,000), or spend a ridiculous amount of time and effort on the old one, much more than we budgeted for on this project. The old machine suffered a lot over its life and the body shows the scars. So our dilemma was this: replace nearly all the body parts and make the Jeep look like new, or hold onto that rugged “patina” and give it the equivalent of a few Botox injections, leaving it with a dignified appearance.
We opted for the latter.
Putting on the paint

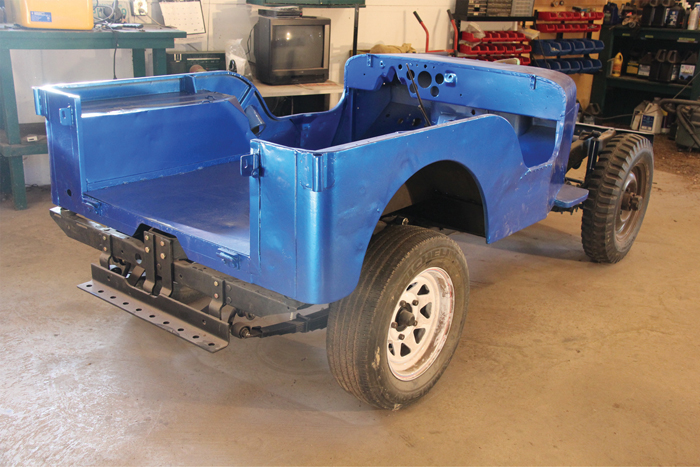
So with all the panels repaired, touched up and relatively smooth, we hung each piece on high-legged workhorses built especially for the painting process. That allowed us to hang and spray each one separately for complete coverage.
For paint, we selected Dupli-Colour Deep Blue Metallic paint, which is ideal for any DIY automotive project where you don’t have access to a full professional spray facility. To do the best job possible we observed these basic rules.
First, keep your work area spotlessly clean. Stirring up dust while working will cause it to settle on the body and mar the final finish. It’s best if you can seal off the painting area and have filtered air flowing through it. Remember that an atmosphere full of atomized paint can become explosive, so keep lights and flame sources outside of your sealed-off area. Good air flow helps minimize that problem and also makes it easier for a respirator to keep feeding your lungs clean oxygen.
Second, thoroughly clean the surfaces to be painted. Use a wax and grease remover to eliminate contaminants and ensure good paint adhesion. Then lightly rub them with a tack cloth to remove any final dust.
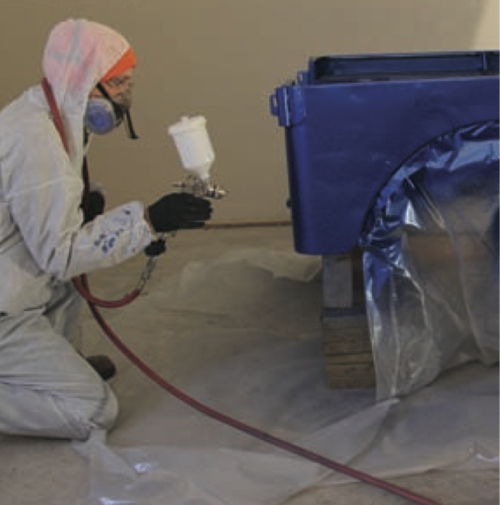
Third, dress for the occasion. If you don’t have a fresh-air breathing system — and you probably don’t — wear a respirator that uses a pre-filter and a charcoal filter rated for organic vapours. Cover up as completely as possible, because solvents can enter your body through contact with skin. Painter’s coveralls and nitrile gloves are cheap protection.
Fourth, pay attention to your spray technique. Some paint comes with best practice spray procedures printed on the can. Ours did, and we followed them. Generally to get good coverage, apply a light coat first. Then come back again with a medium “wet” coat. Finally, mist a light third coat over top to ensure complete coverage. (Holding the gun a little farther from the surface and moving it quickly accomplishes that.) Following these steps will also minimize the risk of creating runs in the paint.
Read Also
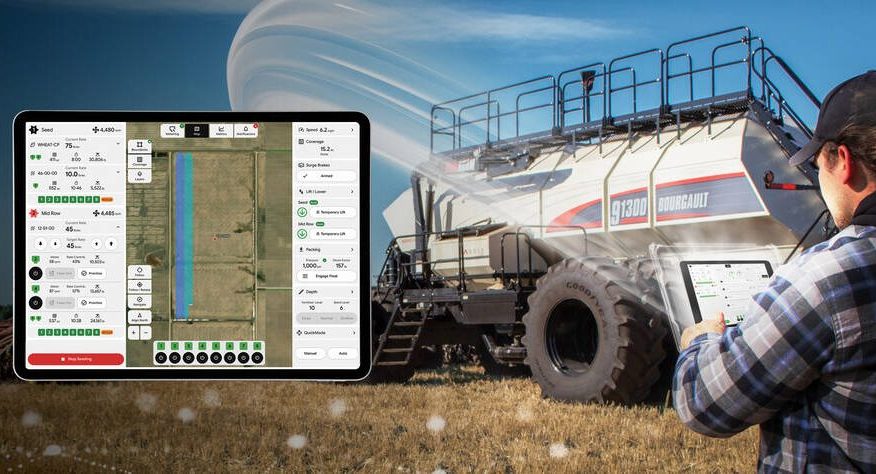
Bourgault rolls out new drill, opener and upgrades to BiC system
Bourgault in mid-January announced the release of three new products for its 2027 model year lineup: a new 50-foot drill, a new twin-shank opener and an upgraded BiC system.
Use a 50 per cent spray overlap. That means each following pass covers half of the previous one. Keep a nice even movement as you always aim the nozzle of the gun squarely at the surface, ensure you keep the distance between the gun and the surface consistent.
After letting the paint set up for a couple of days we lifted the body back onto the chassis, with a little help from our friends Corey and Wayne. Now, CJ3A is truly in the homestretch as we begin bolting all the pieces back together.