How many tries is it going to take me this year to get the tractor and air seeder hitch lined up perfectly, so the pin just drops right in?
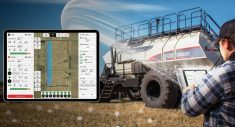
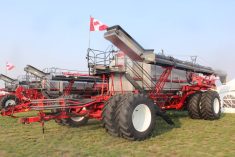
Our farm uses a John Deere 1895 disk drill and 1910 commodity cart. A common machine on the Prairies. Most air seeder manufacturers make a disk drill. While all air seeders are different, they have similar principles of operation. No matter what brand of seeder you have, this article should help you make sure your implement is in tip-top shape come spring.
Read Also
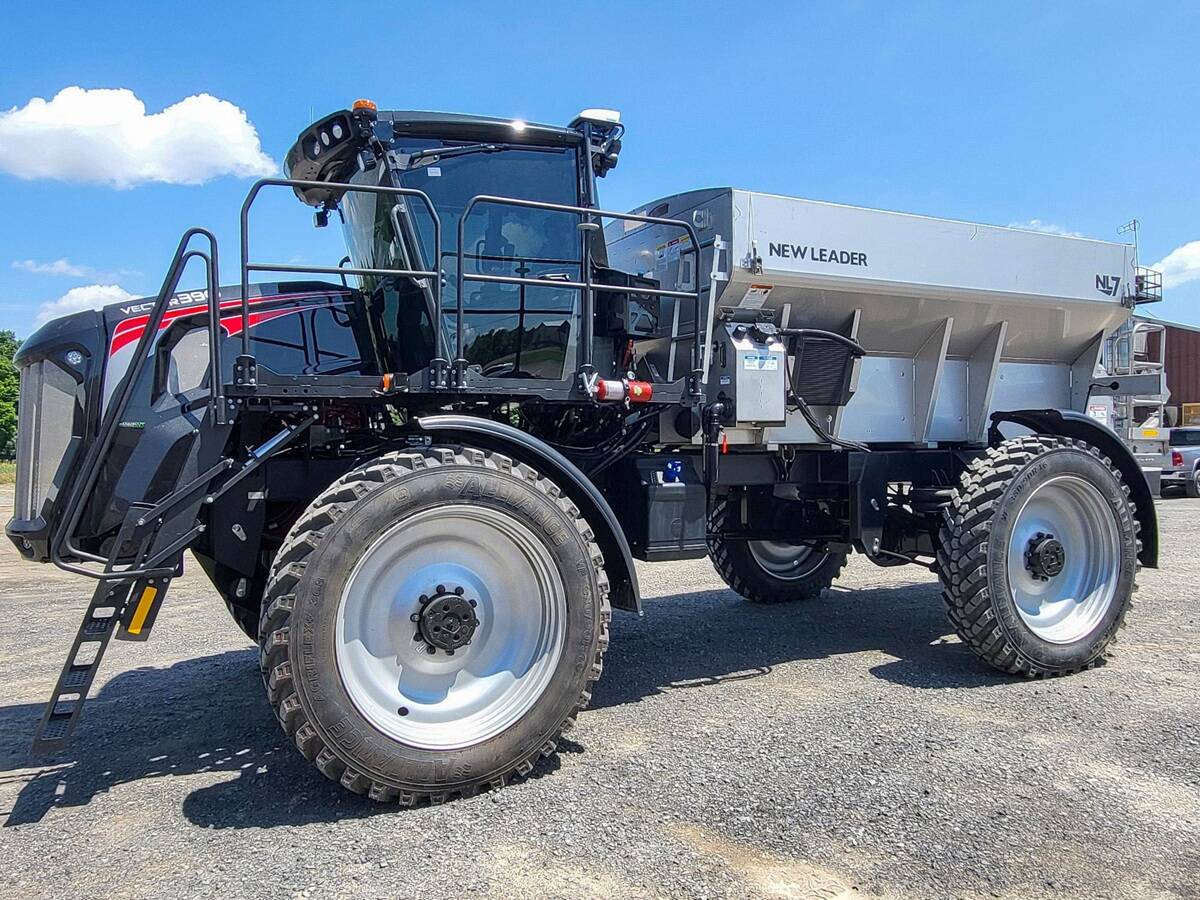
New Leader introduces ‘high-output’ NL710 nutrient applicator
New Leader Manufacturing’s new NL710 single-bin precision fertilizer spreader is billed as comparable to its dual-bin NL720 in productivity.
“Little things can cause big problems. Then you can have two or more things contribute to one problem and those problems are very difficult to troubleshoot,” said Werner Dueck, a solutions support specialist with Enns Brothers in Steinbach, Man., adding that when checking over an air seeder, it’s a good idea to follow the flow of product through the machine.
Start with the tank seals
At the very top of the commodity cart are the tank seals. Not only is the condition of the seals important, but proper tension on the tank lids is crucial to not under pressurize the tanks. Climbing down into the tanks, check the bin-level sensors making sure that the paddles operate freely and are free from debris and corrosion.

Farther down the ladder, it is important to check the agitation system. All the cotter pins need to be in place for the agitator to operate efficiently. On the way out of the tank, follow any wiring or air lines to the top and check for broken wire and pinched lines.
Check all the seals around the meter housings and tank transitions looking for dust paths where air may be escaping. Meter cut-off handles need to operate freely through their full range of motion. This is a commonly overlooked item and it is very important if you ever need to pull the meters from the housings with a tank full of product.

Take the meters out and inspect inside its housing, checking the foam seals and plastic isolator pieces that sit between the meter and the air manifold system. Both items are removable and often will have a build-up of dust around them.
“The scraper end of a snow brush is a great way to remove any residue that may have built up in this area,” said Dueck.
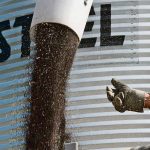
Before putting the meter back in place, make sure it is not all caked with residue from last season’s operation. Water and a little scrubbing take care of most fertilizer and seed-treatment deposits. Seed meters need to rotate freely. If not, it may be necessary to rebuild the meter. Check to make sure the meter brushes and wear strips are in good condition.
The meter can now slide back into the meter housing. Ensure that it locks into place easily. Now check the gap between the meter sensor and the sensor wheel. A gap of less than the thickness of a nickel and more than a dime should be right. On the other side of the meter housing, make sure the agitator drive arm is attached properly and set to the proper agitation speed. Meter clutches should also be checked to make sure they lock and unlock properly.

Wheel-speed sensors and tires
Wheel-speed sensors need to be checked and tires need to be properly inflated to ensure proper metering. Cart speed calibration can be done by matching wheel speed sensors on the air cart to known speeds on the tractor display. All chains and sprockets from the drive wheel and to the transmission shaft should be in good condition. Meter transmissions need to be full of oil. Make sure the wheel bearings on the cart operate silently and are properly adjusted.
With the case drain line connected, check the fan speed. Make sure that there are no hydraulic leaks and that it spools down properly after being turned off. The air stream plenum must be well sealed, and the plenum adjustment crank should operate freely.
Air tubes and hoses should be checked for signs of wear. All wiring and electrical connections should be clean and should make good contact. Check for any broken wiring. The belt on the loading conveyor should be properly tensioned and move easily.

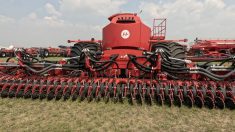
On to the disk drill
Moving along to the disk drill, check all hose, hydraulic, electrical and mechanical connections between it and the air cart. Air hoses can become brittle in the sun over the years and will wear internally from product flow. All air hoses should be rotated one quarter turn every year to ensure even wear. Open the primary towers and inspect for any blockages or dirt build-up. Secondary airlines, if possible, should always be descending away from the distribution tower to the seed tube.
The seed tube should be securely fastened to the seed boot, which in turn should be snug against the disk. The disk should rotate freely and not have side-to-side play. Adjustments can be made to the seed boot for wear on the disk.

The gauge wheel should rotate freely and operate in very close relationship with the disk. Seed deflectors should be present and not worn. Seed firming and closing wheels should track properly with the disk, spin freely and be able to move up and down with little effort. Bushings on the opener should be checked to assure no side-to-side play. Dueck urges to pay close attention to openers running in the tractor tracks. They tend to wear out quicker than openers that run in the uncompacted soil.
Maintaining firm contact with the soil is important. Look for broken down-pressure springs and replace if necessary. Make sure the down pressure adjustment knob can turn freely. Look for any hydraulic leaks around all valves, hoses and cylinders.
The entire frame should be looked over to see if there are any cracks or broken bolts. Check tire pressure and wheel bearings. Make sure all the connection points between the tractor and drill are secure. Tie-up any hoses or wire around the connection points to keep them from getting pinched. Finally, make sure all hazard lights are present and working properly.

“It’s not a bad idea to have a qualified technician look things over,” said Dueck.
I would have to agree, having a second set of eyes checking things out is always helpful. At least every few years. Many shops have a slower period after seeding time and will sometimes offer specials on service inspections for air seeders and planters.
A second set of eyes is also useful when backing up to the air seeder for the first time in spring, often saving a few trips up and down the ladder of the tractor.