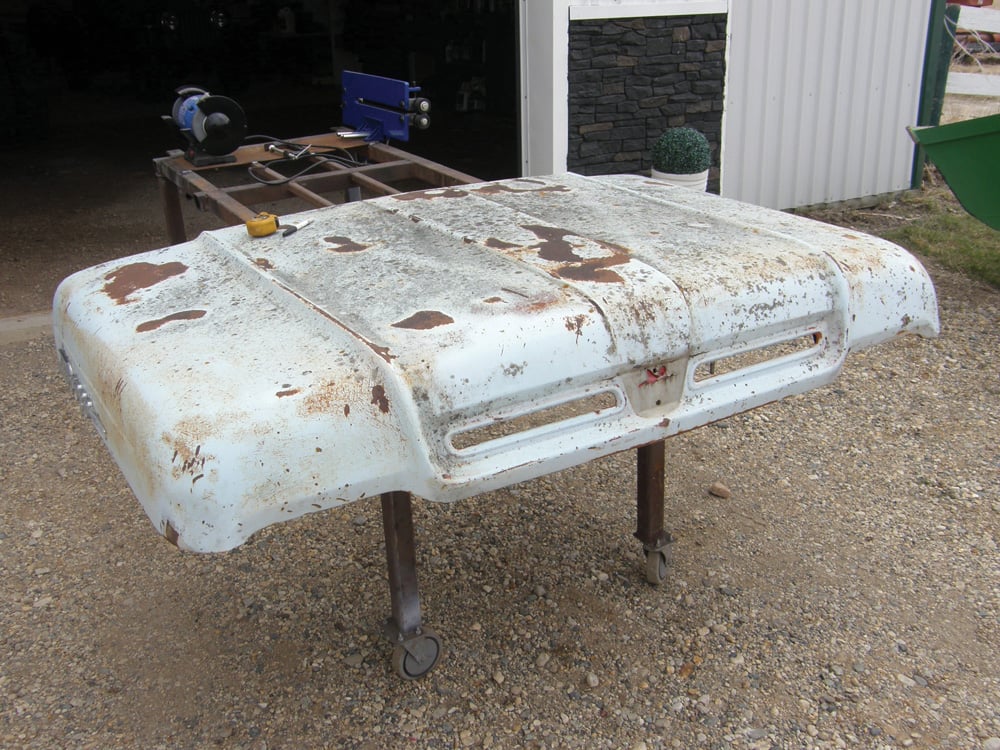
The 1960 Ford F-600 truck sitting outside the Grainews Garage with a body that was far too rusty to repair made us wonder what to do with it, so we started looking at what parts we could salvage and what we could do with them. One of the things that was still in good condition was the hood, which has a great vintage style to it. Using it as a lid for a unique, one-off tool box became the plan.
The first step was to cut the front section off to give it the right depth. Making the box about 22 inches deep seemed about right. To get rid of the excess hood length we ran a tape line at that measurement across it to act as a cutting guide.
- Read more: How to build a custom toolbox, Part 2
There were several ways we could have made the cut, but it was important to get a smooth, even edge. So we opted to use a cut-off disc on an angle grinder.
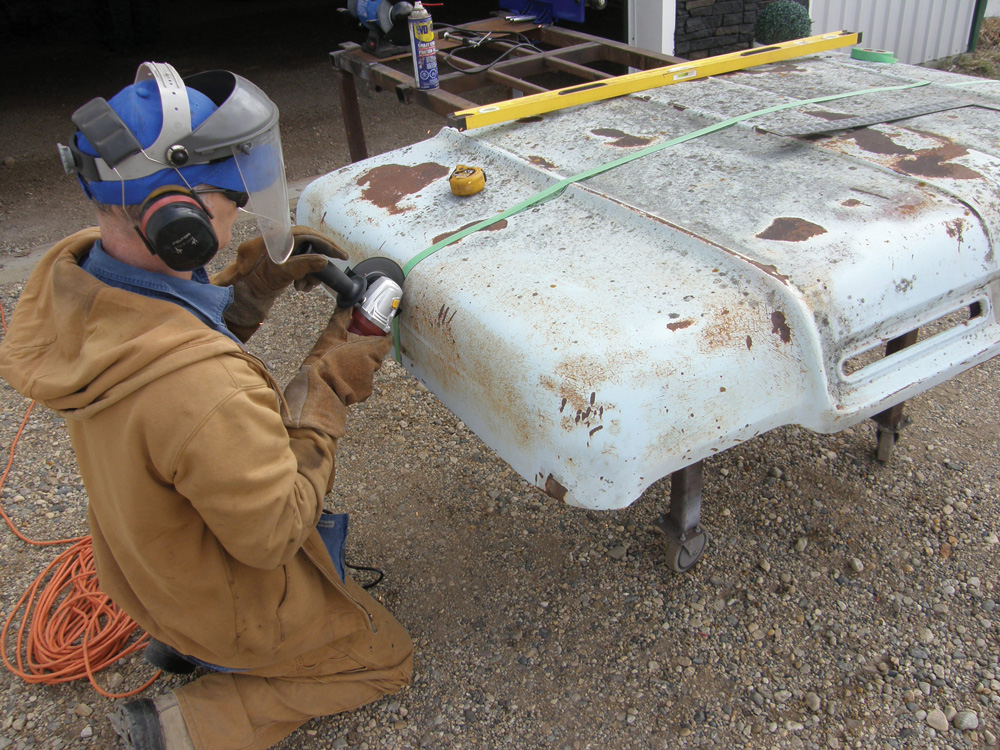
We wanted the tool box to fit into the bed of a pickup, giving us the option to use it there if we wanted. But that meant the old truck hood had to be narrowed by about 12 inches (30 centimetres). It wasn’t possible to just cut a slice out of the middle of the hood. That would ruin its lines. The only place where it could be cut was on the outer sections, making it necessary to make two cuts and take about six inches out of each side to keep it symmetrical. Doing that would allow the hood to retain its basic design and give it the proper dimensions.
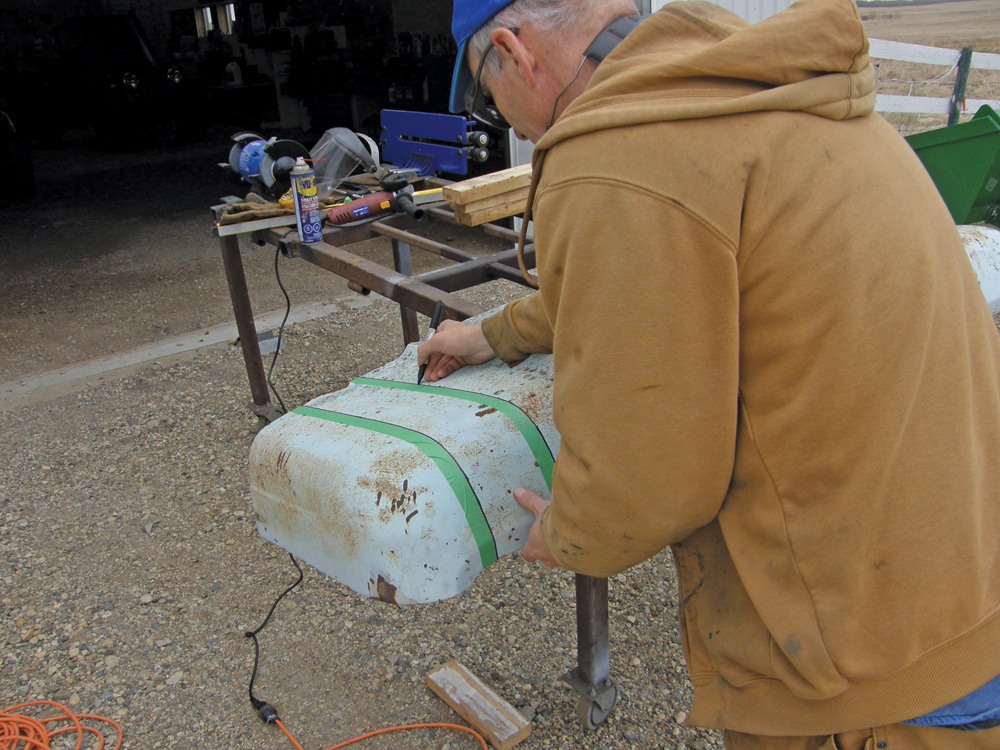
Lines were marked out on both sides of the hood to make those cuts. Running tape to mark lines makes an easy-to-follow guide, but we used a Sharpie to draw a cut line as well, in case the tape came off.
Read Also

John Deere introduces updated tech for its combine line
The 2027 model year will see the debut of several new features for John Deere’s line of combines, particularly the X9.
With all the cuts made, the hood was now in three sections and needed to be put back together. This is where having a good selection of clamps — and a lot of them — comes in handy.
The trick was aligning and massaging all the sheet metal so it would meet properly and could be welded back together to create a seamless appearance. The trouble is, although we cut the flattest section we could, there were compound curves at the front of the hood that were now misaligned because of the six inches we chopped out. Removing those section also raised the sides of the hood up compared to the front centre section when they were reattached.
To get the sides welded back on, pie-shaped relief cuts had to be made through the front curved portion. That, combined with a little hammer and dolly work to shape the remaining metal, allowed the hood shape to fit together correctly. The joint was butt welded so it could be made invisible not only on top but also underneath if we wanted to go that far.
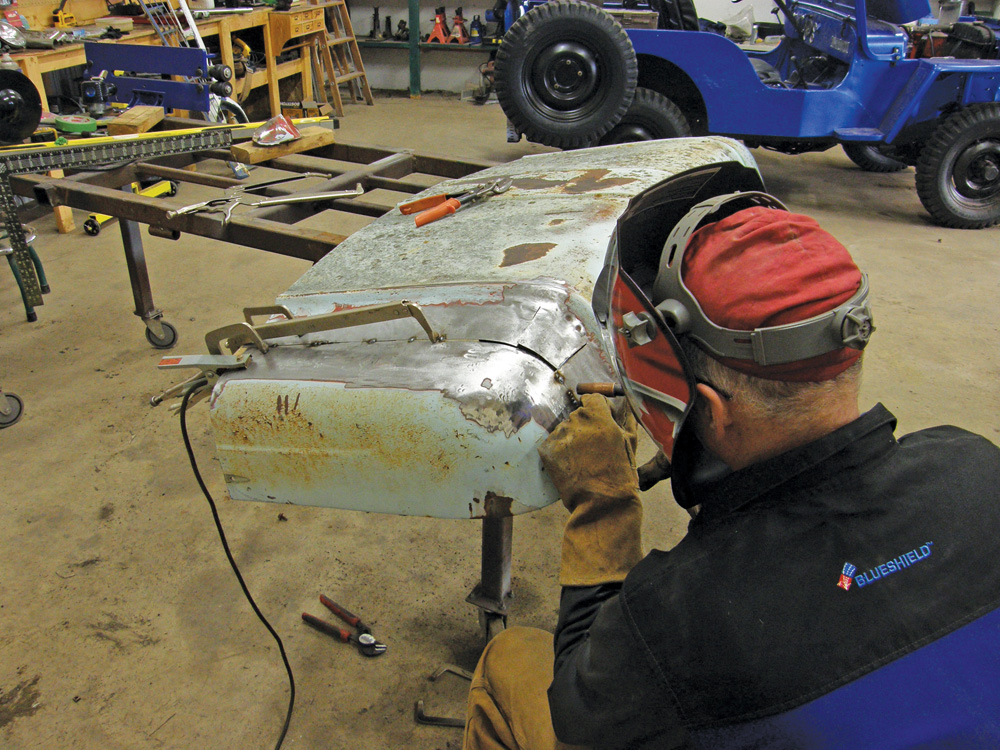
Once the welding was finished, the weld bead was ground smooth with the surrounding metal using a flap disc on the angle grinder, which made it invisible.
To put a new back on the hood, which would also make it rigid and help retain its shape, it was stood up on a piece of 18-gauge sheet metal lying on the shop floor. The contour of the hood was then traced onto the metal so the exact hood shape could be cut out.
The new back was welded to the hood and metal strips with a 90-degree bend were welded to the underside for reinforcement at the joint and to stiffen the back section.
A little body filler was used to smoothen out any uneven sections and the entire hood was sanded down to bare metal before getting a coat of primer.
Next time, we get on with building the box.