
What do agronomists and equipment companies have in common? At one time or another, both talk to producers about how to improve production on their farms.
Use the correct tillage tools and make the appropriate adjustments to them to ensure you’re getting the best results.
Agronomists do this because, well, that’s their explicit job description. But if you want to sell products to farmers, you likely want to stay in touch with the general farming community. While doing so, company managers often find out what producers are doing right and in what areas they could stand some improvement.
We talked to some farm equipment leaders to see if they had any tips on how farmers can get the best results from their tillage tools. Here’s what they had to say.
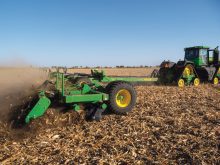
A boy scout’s guide to finding soil compaction

Soil compaction is one of the biggest agronomic concerns on producers’ minds today, says Chris Lursen, tillage marketing manager with Case IH. If you suspect compaction in your field, he suggests: a) finding out if you actually have it, and b) discovering how deep in the soil it goes. With that knowledge, you can adjust your tools appropriately.
There are a few ways to do this, says Lursen, but Case IH’s preferred method involves digging a five gallon, 18-inch hole in the ground.
“That will give you more of a worm’s-eye view of the soil,” he says.
From there, he suggests taking a pocket knife and dragging it up from the bottom of the hole.
Read Also
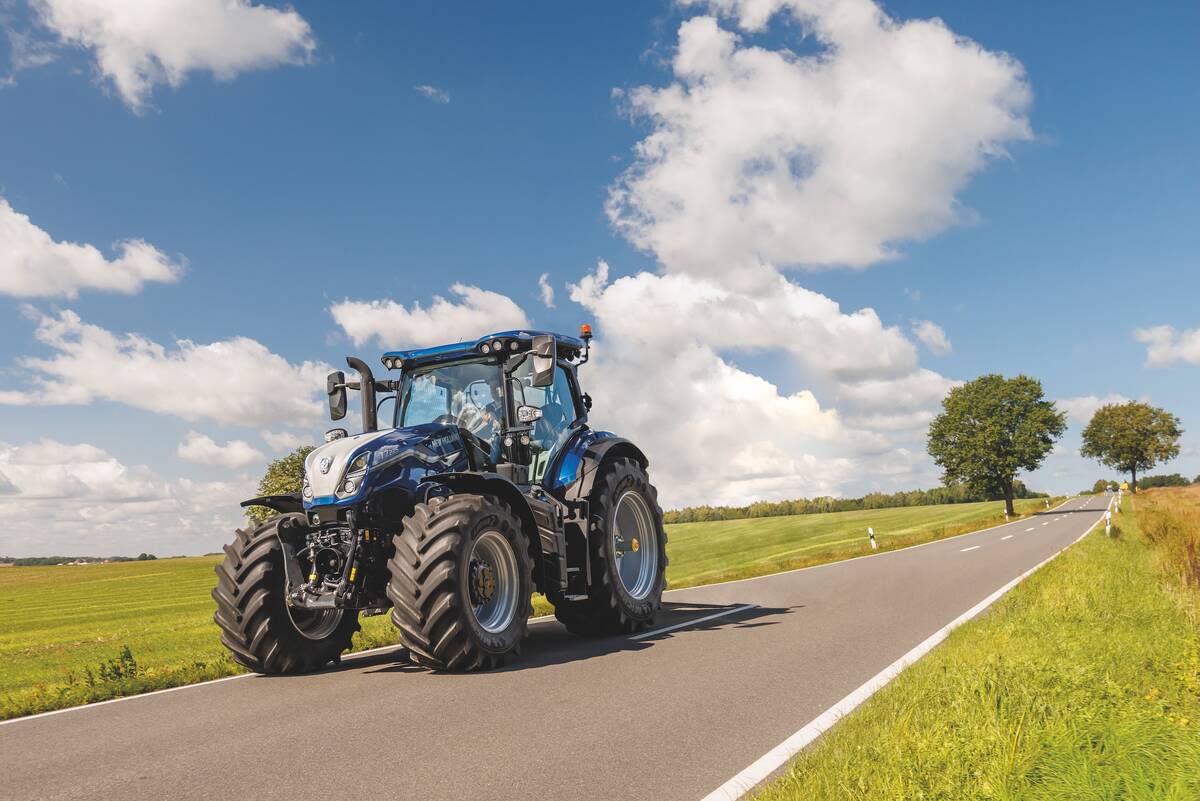
New Holland upgrades its T7 tractor lineup
New Holland has updated its three Standard Wheelbase T7 tractor models for the 2027 model year.
“Insert the knife about a quarter- to a half-inch into the sidewall and drag it up slowly using consistent pressure. You will more than likely find some level of resistance probably at the eight-, nine- or 10-inch depth — that’s the bottom of the compaction layer.”
The next step is finding the top end of that layer. “Push the knife down from the top of the hole. You will likely run into a level of resistance. It could be an inch above the bottom; heck, it could be compacted all the way to the surface depending on the traffic area of that field.”
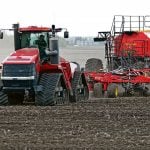
The final step is removal, which traditionally is done with a disk ripper. Among Case IH’s lineup, Lursen recommends the Ecolo-Til 2500 In-Line minimum tillage ripper or the Ecolo-Tiger 875 combination ripper.
“To properly remove the compaction layer, set the points one inch below the compaction layer measurement. For example, if the bottom of the compaction layer is nine inches, ripper points should be set at 10 inches deep,” he says.
“This setting will maximize compaction removal through a lift, twist and roll action of the soil and optimize efficiency of the whole tillage tool.”
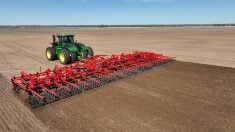
Find the balance between horsepower and width

Producers are trying to get tillage and other farm operations done in increasingly tightening windows of time, says Kris Wright, product manager of ground engaging tools for Salford Group. This partly explains why many producers are looking for tillage machines with unprecedented working widths. However, it can create a balancing act between tractor and implement.
Wright says producers don’t always use the horsepower needed in order to get the most efficacy and efficiency from their tillage tools. A producer’s best bet is to refer to manufacturer documentation on horsepower requirements, usually stated in horsepower per foot of tillage machine.
“It comes down to having as wide of a working width as possible without requiring tractor horsepower that simply doesn’t exist. A lot of producers are looking at 30-, 35-, 40-foot machines as a minimum and upwards of 50 if they can, especially in flatland, while still being able to travel at 10-plus miles per hour and really cover ground,” he says.
“Often, it’s not the newest, greatest tractor on the farm that’s pulling these machines. It may not be a terrible tractor but it’s not the top-of-the-line tractor.”
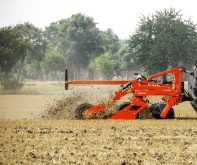
Adjust for wear and tear

Dragging tillage implements — whether they be disks, cultivators or ploughs — through the soil naturally creates a lot of wear and tear on those tools, says Scott Rodger, general manager with Lemken in Canada. Producers need to be aware of how ground down their implements are getting in order to make necessary adjustments — particularly in terms of depth.
“Sometimes with tillage machines, when they’re working in the ground, you don’t necessarily see the wear on the machine,” he says.
“Your disks, for example, are going to wear. If they are originally 25 inches in diameter and at some point they get to 20 inches and below, that means you will need to make an adjustment on the machine or replace worn parts in order to maximize its performance.”
As a general rule of thumb, Rodger recommends checking soil-engaging tillage tools for wear at least once every spring.